XNAT


Operating System:

Terminal:


Shell:


Editor:


Package Manager:


Programming Language:


Database:

Utility:


Extension:


Operating System:
Terminal:
Shell:
Editor:
Package Manager:

Programming Language:

Database:
Utility:

Extension:
XNAT is an open source imaging informatics platform developed by the Neuroinformatics Research Group at Washington University.
More information can be found here.
Setting Up an XNAT Job
When starting an XNAT job, the user must specify two parameters:
Database directory: A folder containing a PostgreSQL database for XNAT. If an empty folder is mounted, a new database will be created inside that folder.
XNAT root directory: The root folder of the XNAT file system structure (see below). If an empty folder is mounted, a file tree rooted in the mounted folder will be created.
The XNAT file system stucture is the following:
xnat_root_dir/
├── archive/
├── build/
├── cache/
├── fileStore/
├── ftp/
├── home/
│   ├── config/
│   │   └──xnat-conf.properties
│   │   └──prefs-init.ini
│   └── logs/
│   └── plugins/
│   └── work/
├── inbox/
├── prearchive/
└── pipeline/
By adding a public link to the XNAT job, the interface will be accessible to anyone who has the link.
Initialization
For information on how to use the Initialization parameter, please refer to the Initialization - Bash script section of the documentation.
User Management
The admin user
Upon initialization of a new XNAT instance, the default administrator account is created with the username admin and password admin.
The administrator password can be changed via the interface by navigating to Administer > Users, selecting the admin user, and choosing Change User Password.
User creation
The admin user can register a new user account by going to the interface and clicking Register from the login screen and entering the required information.
The admin user must enable new users before it becomes active. This is done from the interface by clicking Administer > Users, clicking the row with the new user and clicking Enabled in the pop-up window:
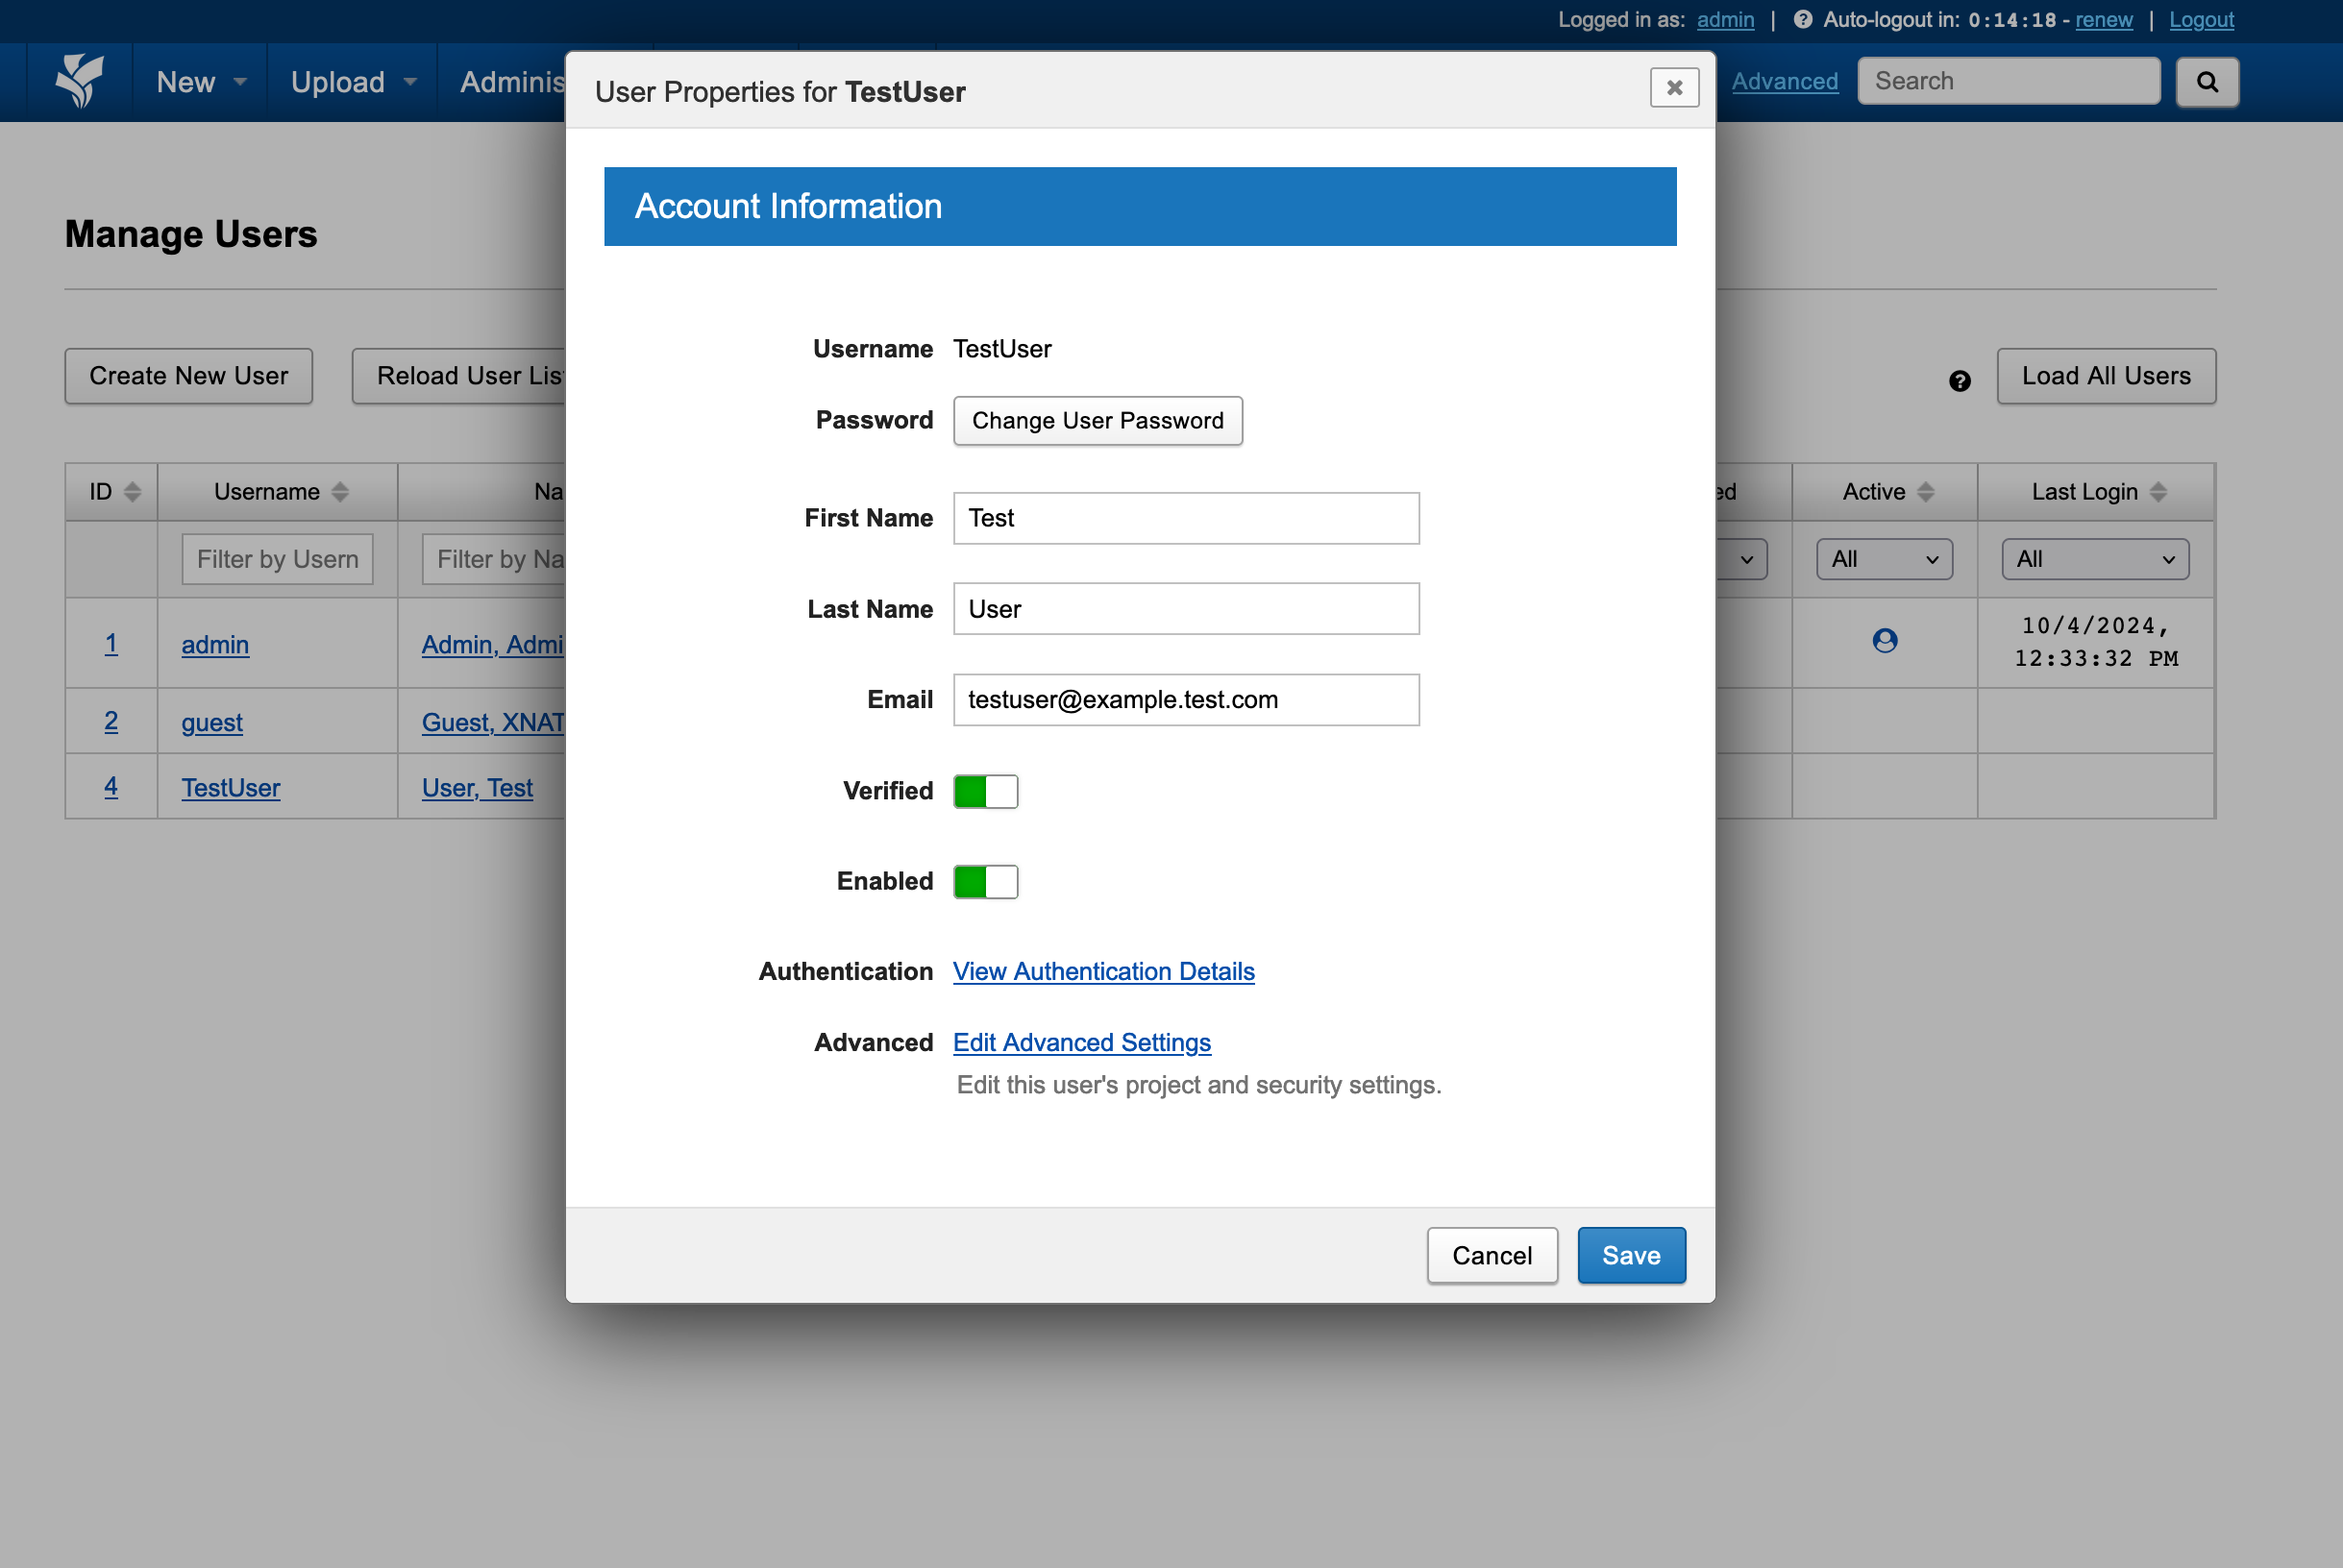
Once enabled by an admin, the new user can login to the interface.
Note
Email functionality is not available in XNAT jobs because SMTP servers are not configured. As a result, features such as user email verification and email notifications are disabled.
Database Dumps
It is possible to back up the XNAT database backend which is mounted to Database directory. Provide a Database dump directory to enable the automated backups. Backups run twice per day (00:00 and 12:00 UTC).
Site Settings
When an XNAT instance is started in a UCloud job for the first time, initial configuration of site settings—such as the file system structure—is required. Most settings are automatically populated to match the mounted XNAT root folder and related directories.
Site settings can be modified at any time through the Administer tab in the XNAT interface.
If an XNAT instance is restarted in a new job by mounting the same database and XNAT root folder, all previously configured settings are automatically retained and loaded.
Plugins
XNAT's core functionality can be extended using using plugins. Plugins must be saved as .jar files.
To attach plugins to an XNAT job, the user must mount a folder containing all the plugin files using the Plugin directory optional parameter. All .jar files from the mounted folder will be copied into <xnat_root_folder>/home/plugins.
If a populated XNAT root folder is mounted during job submission, the plugins in <xnat_root_folder>/home/plugins will also be available. Hence, it is not necessary to mount a folder with these plugins.
If a folder is mounted to Plugin directory, the plugins in this folder will replace plugins in <xnat_root_folder>/home/plugins in case of name clashes.
Pipelines
In XNAT it is possible to deploy XML-based pipelines for semi-automatized or fully automatized workflows.
Using pipelines requires both the XNAT Pipeline Engine Plugin and the XNAT Pipeline Engine. The plugin should be added using the Plugin directory optional parameter (see above) while the pipeline engine is vailable in /opt/xnat-pipeline-engine inside the job.
Setting up the pipeline engine
The following steps are required to make the pipeline engine functional:
Run the Pipeline Engine's installation script called
setup.shwith[destination]set as/work/<xnat_root_dir>/pipelineandxnatUrlset aslocalhost:8080.From the XNAT interface, set Administer > Site Administration > Pipeline Settings > Processing Url to
http://localhost:8080.Add the
Buildfunctionality to the Data type to which the pipeline should apply. See this guide.Once everything is saved, restart XNAT.
Note
It is not possible to run container-based pipelines.
Restarting XNAT
To restart XNAT, run the following command from the XNAT job's terminal:
$ restart-xnat
Important
When executing restart-xnat all unsaved sessions will be immediately and irretrievably deleted and the interface will be unavailable to all users for a few minutes.
Contents