Overleaf


Operating System:

Terminal:


Shell:


Editor:


Package Manager:


Programming Language:


Database:


Operating System:
Terminal:
Shell:
Editor:
Package Manager:
Programming Language:
Database:


Operating System:
Terminal:
Shell:
Editor:
Package Manager:

Programming Language:
Database:


Operating System:
Terminal:
Shell:
Editor:
Package Manager:

Programming Language:
Database:


Operating System:
Terminal:
Shell:
Editor:
Package Manager:
Programming Language:
Database:


Operating System:

Terminal:

Shell:


Editor:


Package Manager:


Programming Language:


Database:


Operating System:
Terminal:
Shell:
Editor:
Package Manager:
Programming Language:
Database:


Operating System:
Terminal:
Shell:
Editor:
Package Manager:


Programming Language:
Database:


Operating System:

Terminal:

Shell:


Editor:


Package Manager:


Programming Language:


Database:


Operating System:
Terminal:
Shell:
Editor:
Package Manager:

Programming Language:
Database:


Operating System:
Terminal:
Shell:
Editor:
Package Manager:

Programming Language:
Database:


Operating System:

Terminal:

Shell:

Editor:


Package Manager:


Programming Language:


Database:


Operating System:
Shell:
Editor:
Package Manager:

Programming Language:

Database:


Overleaf is an open-source online real-time collaborative LaTeX editor.
This application allows to create an Overleaf server to compile and save LaTeX projects directly on UCloud. A base requirement of 2 cores and 3 GB memory is recommended for basic operations with around 5 concurrent users.
Important
Multiple users are able to access the server and work simultaneously on the same project only if the app is deployed with a public URL.
Mandatory Parameters
To launch the application the user needs to select two input folders: one for the MongoDB document database and the other to store projects binary (non-text) files. In case of a new server setup, these folders must be empty.
Restoring Data from Dump Files
To restore the MongoDB document database the user should select the Restore Backup option.
In this case the user should mount an empty MongoDB database folder and reuse the Project Files directory.
The latter contains a MongoDB dump of the database which needs to be restored, named database_dump.
When the Overleaf server is running, it will run a backup of the MongoDB database every hour.
The database can also be manually dumped from the terminal interface using the mongodump command.
Hint
Restore the database in case you need to upgrade to a new version of Overleaf.
Set Up an Admin Account
When a new server is created, it is necessary to set up an admin account by replacing /login in the app URL with /launchpad, as shown in the figure below.
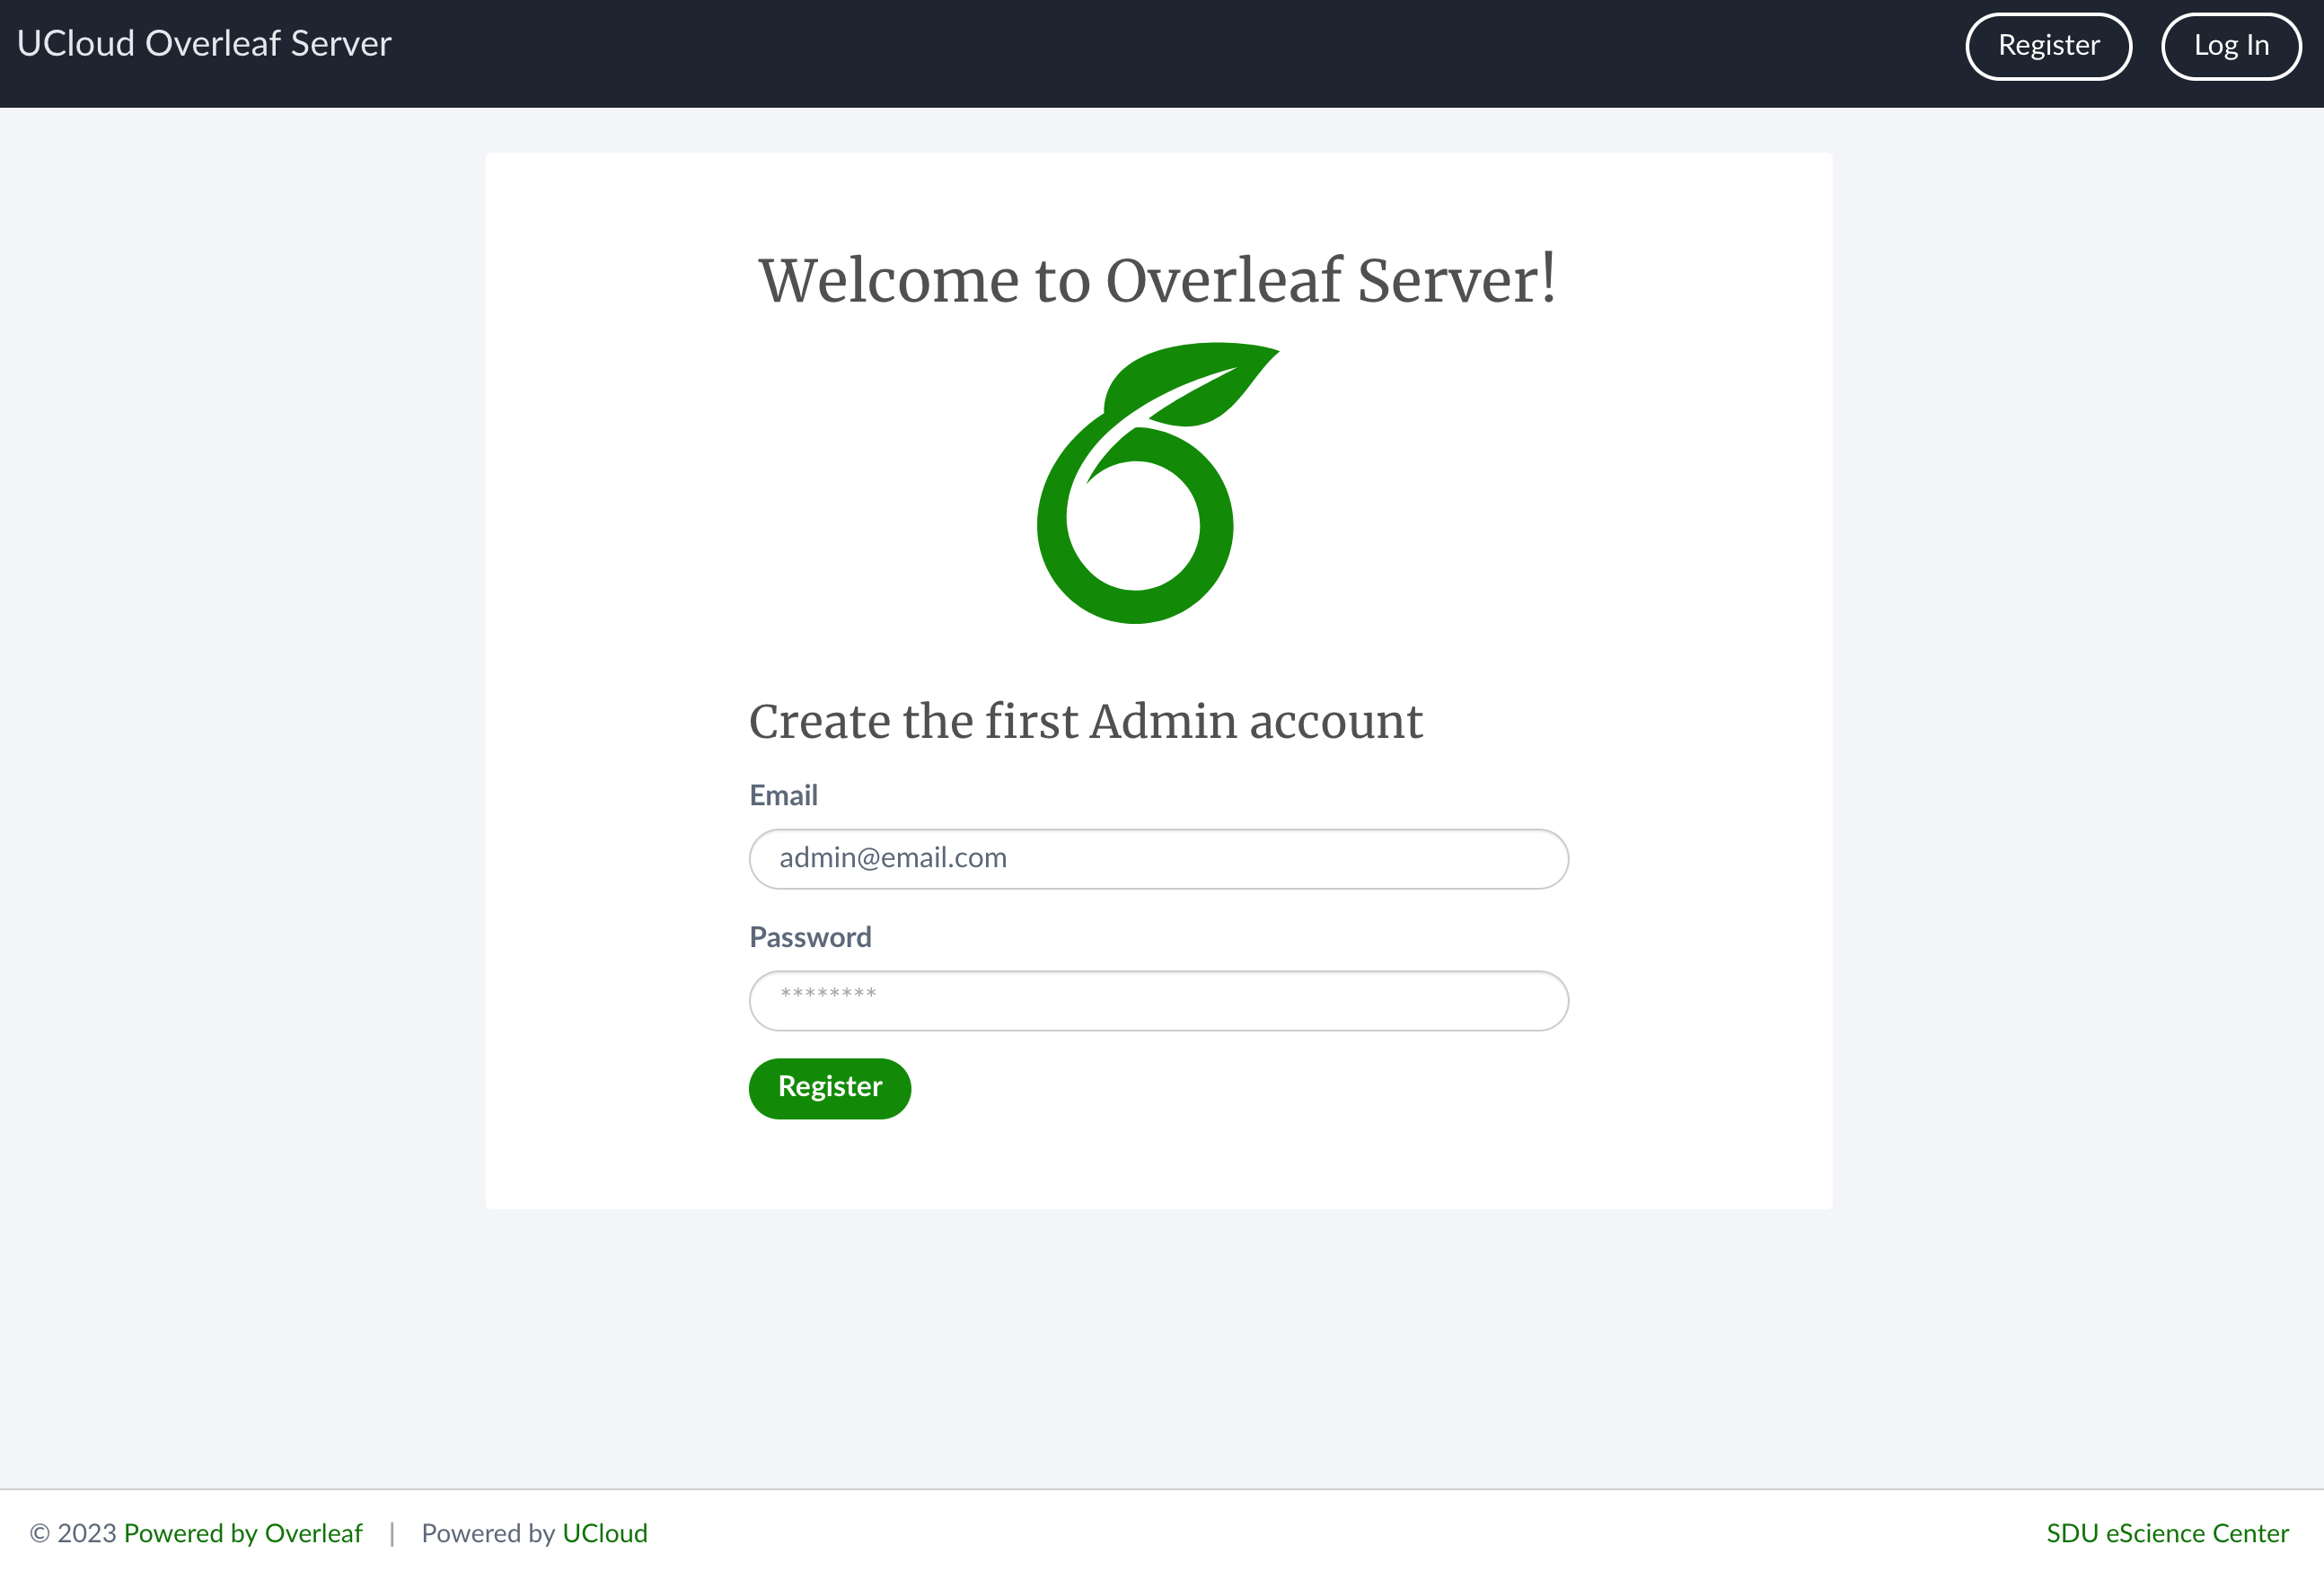
The admin user should provide an email address and a password for the registration. The same email is used for the login.
After the registration, the admin is able to log in to the server account using the button in the top-right corner of the screen.
Note
All users are registered in the server with an email address. However, there is no email server configured in the backend. Therefore, it is not possible to send emails to the users from the app web interface.
Create and Manage Users
New users can be added to the database from the admin menu in the top navigation bar.
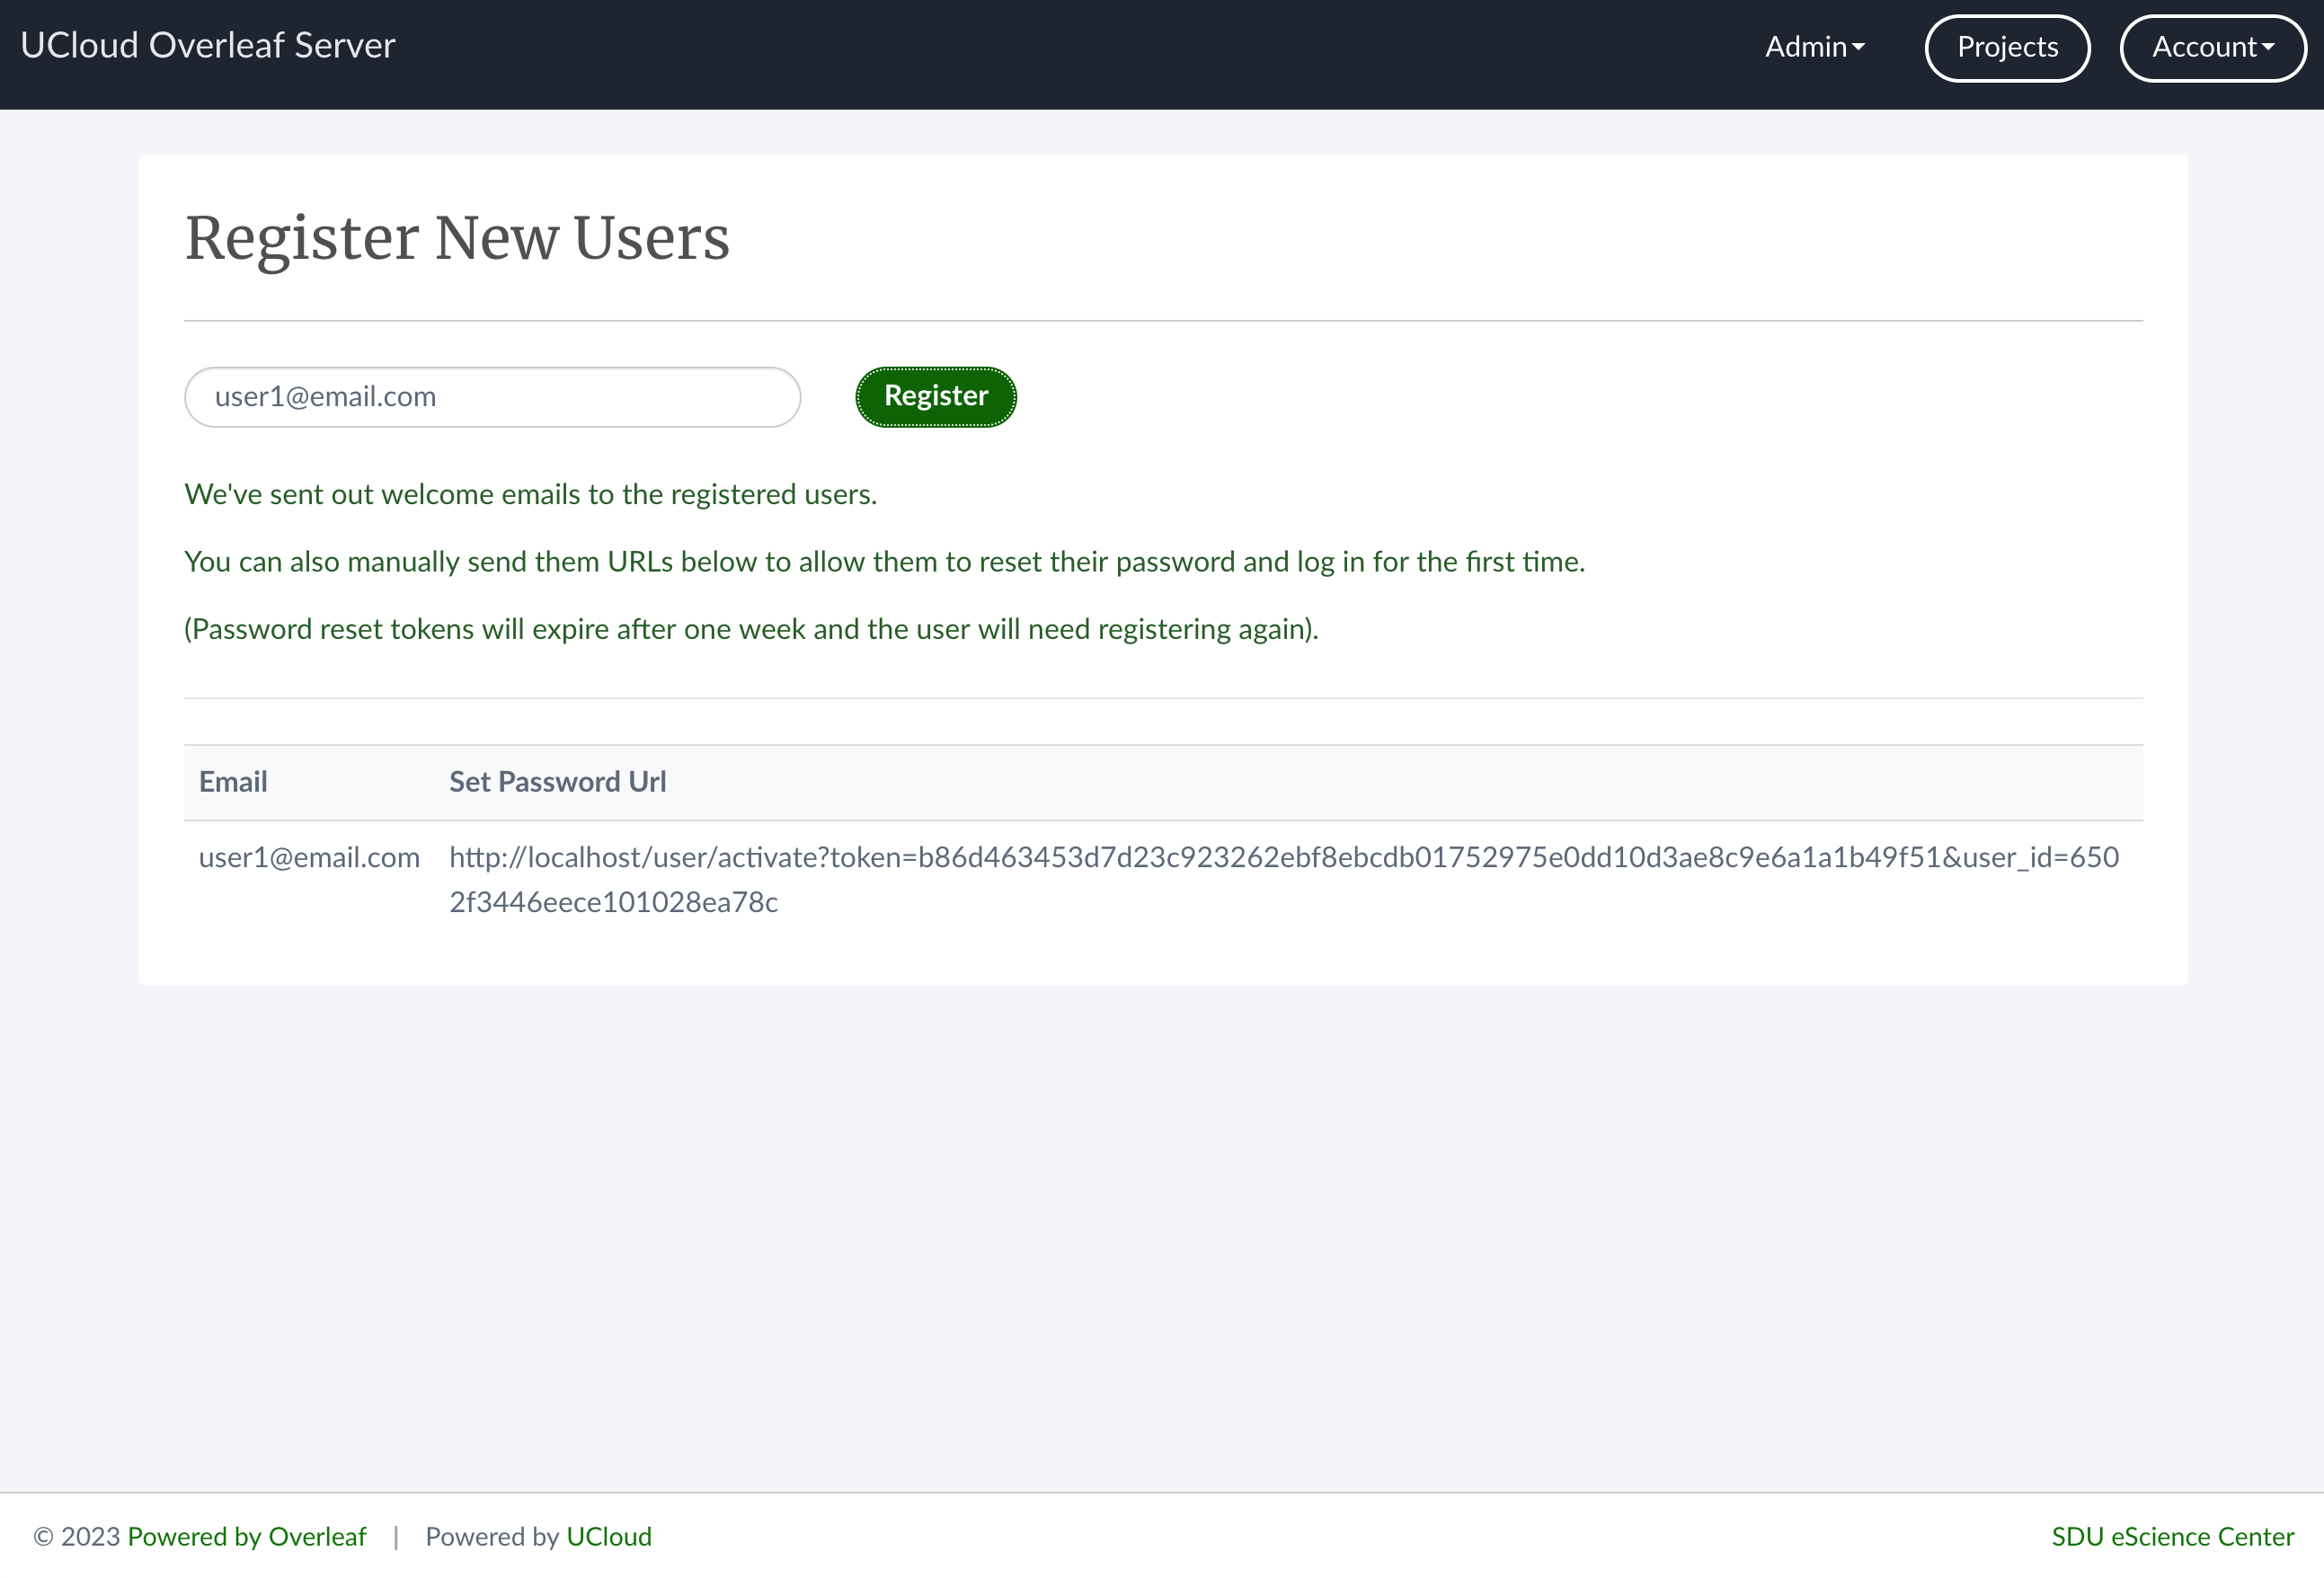
In the example shown above a new user account (user1@example.com) is created. To activate the account the admin should first copy the app URL in a new web page and replace /admin/register with the string /user/activate?token=... displayed in the previous screen. At this point the admin should set a password for this user and click on activate. This will open the project page of user1@example.com.
If the job URL is public, the server admin may send the activation link directly to another collaborator, who will thus be able to activate the account and log in to the server.
Share a Project
As remarked at the beginning, a registered user can share a LaTeX project with other collaborators only if the server is deployed with a public URL.
From the page of the project one should click on the share button on the top navigation bar to open a dialog box similar to the following:
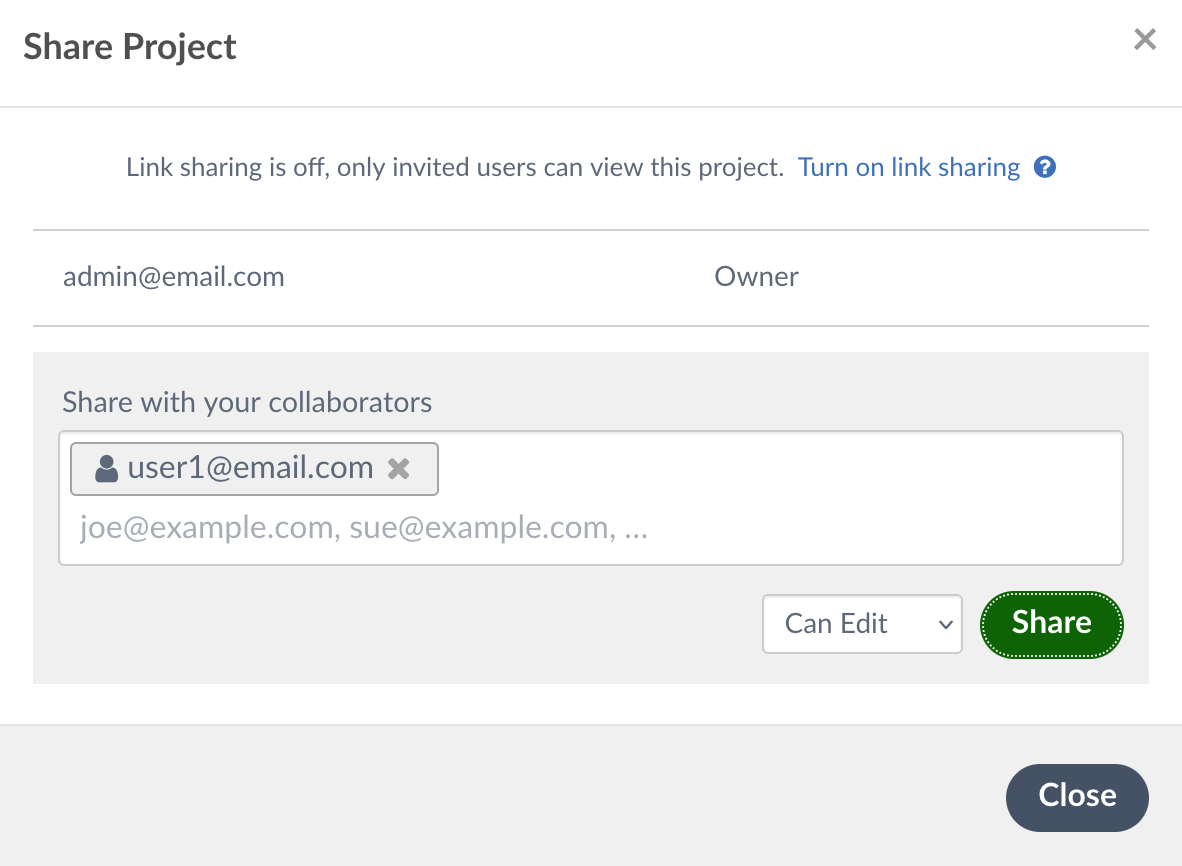
Here the user can add one or more collaborators registered in the server database by typing the corresponding login email. A notification will appear inside the collaborator account page. It is also possible to remove users previously added to the list or change the ownership of the shared project.
Alternatively, the admin may also share a public link of the document with non-registered users, by turning on the link sharing feature, at the top of the Share Project dialog box. As a consequence of this feature, two public links are displayed, which enable access to the project files with different permissions.
Manage the Database
The project text files are saved in the MongoDB database along with the users registration data. Any change in the database is recorded in the folder mounted in the app container. The database name is sharelatex and it is served on port 27017.
Contents