Postgres
UCloud uses PostgreSQL for its general purpose data-storage needs. Low-level access to
the PostgreSQL database done via the jasync-sql library, which provides
Kotlin co-routine support to avoid blocking our threads associated with our coroutines. In practice, access to Postgres
is done through our library (described in this document) which wraps jasync-sql.
SQL in UCloud
Micro reads the database configuration using the DatabaseConfigurationFeature. You can create a
DBSessionFactory from this configuration:
// Put in Server.kt
val db = AsyncDBSessionFactory(micro)
Code: Creating an AsyncDBSessionFactory. This factory will provide you with database connections as needed.
The configuration returned by Micro will read connection details and associated credentials.
Core abstractions
Now you have retrieved an AsyncDBSessionFactory you are capable of interacting with the database. In this
section we will cover the core abstractions of the UCloud PostgreSQL library.
class AsyncDBSessionFactory(
    config: DatabaseConfig
) : DBSessionFactory<AsyncDBConnection>, DBContext()
The AsyncDBSessionFactory is responsible for managing a pool of connections to the Postgres database. The
AsyncDBSessionFactory can open and return an active connection in the form of an AsyncDBConnection.
class AsyncDBConnection : DBContext()
The AsyncDBConnection represents an open connection to the Postgres database. You can send prepared statements, and
retrieve results using the AsyncDBConnection.sendPreparedStatement function.
Example: Sending a prepared-statement and reading the output
val session: AsyncDBConnection
val returnedFoo = session
    .sendPreparedStatement(
        {
            setParameter("foo", 42L)
        },
        """
            select :foo
        """
    )
    .rows
    .single()
    .getLong(0)

assertEquals(42L, returnedFoo)
sealed class DBContext
The DBContext provides transaction management in UCloud. The DBContext class is implemented by the
AsyncDBSessionFactory and an AsyncDBConnection. It provides a single member function:
suspend fun <R> DBContext.withSession(
    block: suspend (session: AsyncDBConnection) -> R
): R
The withSession function will always provide you with an active transaction, which at the end of your block will be
committed, assuming that no exception are thrown. If an exception is thrown the transaction will be rolled back. If
withSession is called with an already open transaction then no new transaction will be opened. It allows for
service-layer code to be written in a way that it can be re-used in different context.
Example: Writing a service-layer function using withSession. The controller code calls the writeEntry
function repeatedly. All of the calls to writeEntry will be performed in the same database transaction.
// In a service
suspend fun writeEntry(
    ctx: DBContext,
    text: String,
    number: Long
) {
    ctx.withSession { session ->
        session
            .sendPreparedStatement(
                {
                    setParameter("text", text)
                    setParameter("number", number)
                },

                """
                    insert into foobar values (:text, :number)
                """
            )
    }
}

// In a controller
implement(myCall) {
    db.withSession { transaction ->
        repeat(100) {
            writeEntry(transaction, "Hello $it", it.toLong())
        }
    }
    ok(Unit)
}
Database migrations
Database migrations in UCloud are powered by Flyway. Migrations are stored
in the classpath at db/migration and are SQL scripts. The migration scripts must follow the following
convention: V${index}__${scriptName}.sql. index is 1-indexed and must be sequential.
Example: A simple migration script
-- Must be stored in example-service/src/main/resources/db/migration/V1__Initial.sql
create table foobar(
    a int primary key,
    b int
);
The deployment scripts will automatically run database migrations. When you need to run migrations during local development you should use:
./gradlew :launcher:run --args='--dev --run-script migrate-db'
Developer Tutorial: Configuring IntelliJ IDEA for auto-completion
Non macOS users: Replace Cmd + Shift + A with the ‘Find action’ menu item in IntelliJ. It should be available in
‘Help’.
This tutorial assumes that you have set up a local Postgres database and have run migrations on your local database.
Step 1: Configure the database in IntelliJ
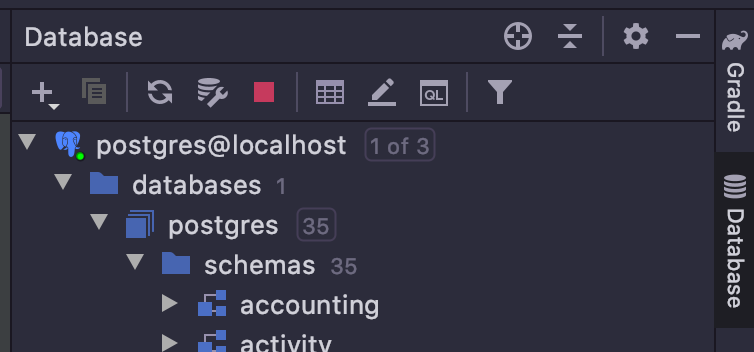
Open the database pane in IntelliJ (Cmd + Shift + A and write ‘database’ or select it in the right toolbar).

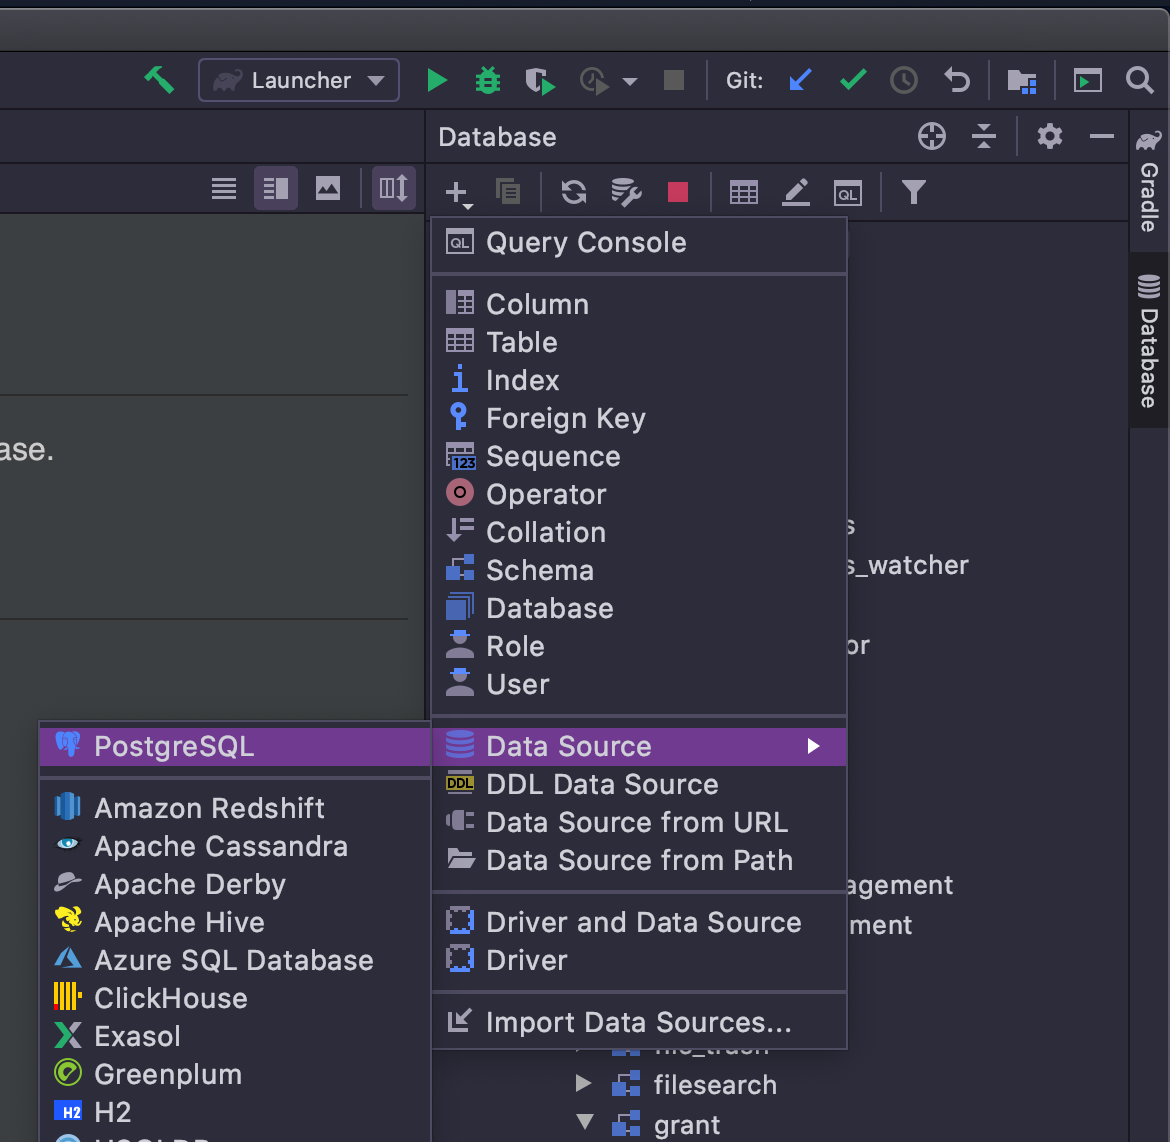
Click the ‘+’ to add a new datasource.

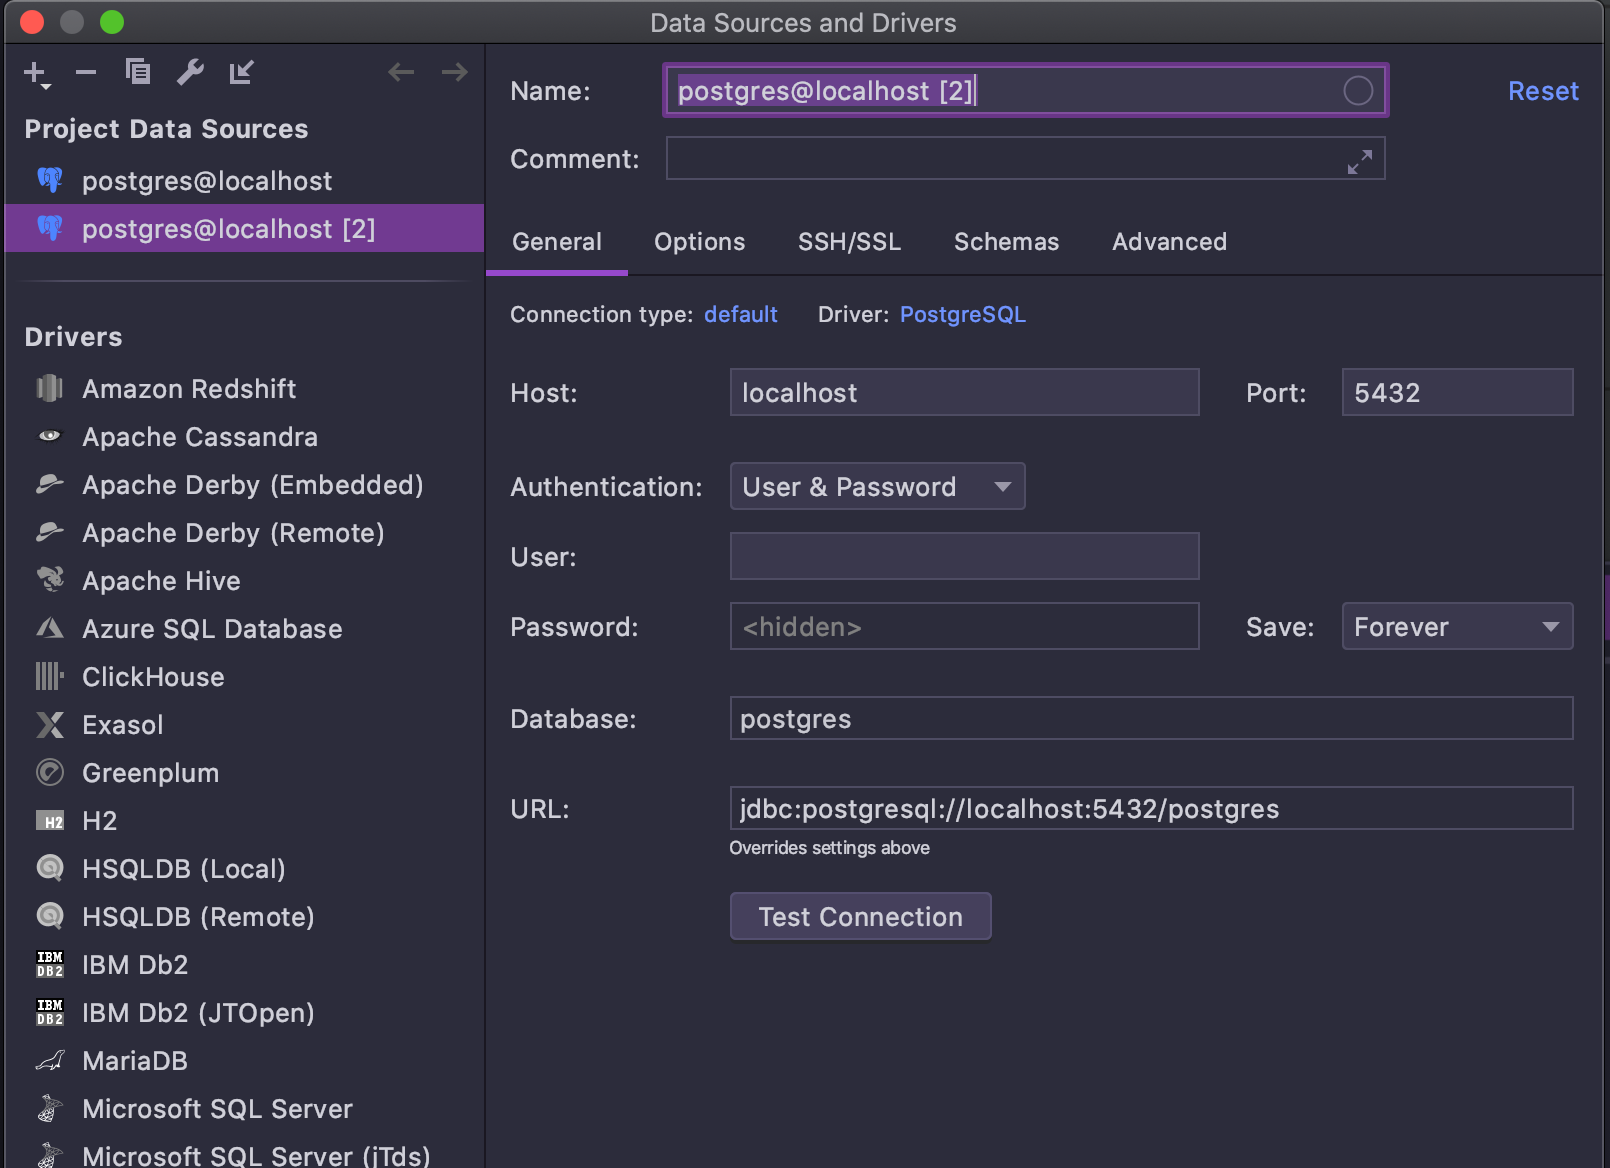
Configure the datasource to match your local setup and apply the configuration.

Step 2: Configure SQL Resolution Scopes
SQL resolution scopes allow you to get correct auto-completion by automatically searching the relevant schemas.
Start by opening the settings for sql resolution scopes (Cmd + Shift + A and search for sql resolution scopes).

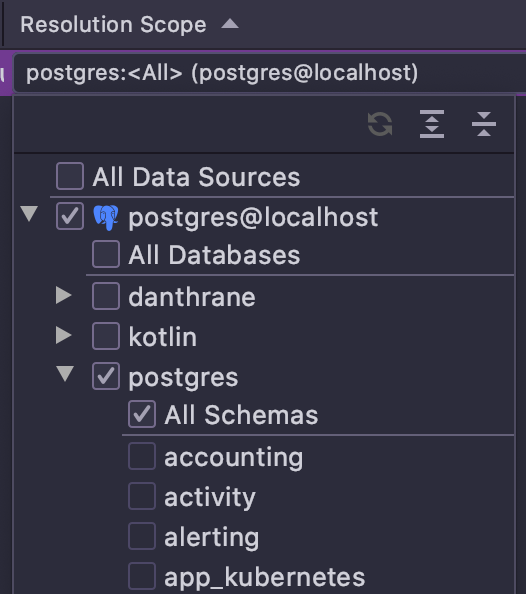
Click ‘+’ and select the repository root folder. For the resolution scope uncheck ‘All datasources’ and select the correct database + ‘All schemas’.

Step 3: Write SQL Code
You should now be able to write normal SQL code from the microservices. Make sure not to call any extension
functions on the SQL script, as it stops IntelliJ IDEA from performing auto-completion. Common errors include
running .trimIndent() on the SQL script.
Example: Simple SQL query
session
    .sendPreparedStatement(
        {
            setParameter("foo", "bar")
        },

        """
            select :foo
        """
    )