Add Files and Folders
The fundamental data storage unit on UCloud is referred to as a drive. Each drive can accommodate any number of files and folders.
Drives, individual files, and folders within the active project can be accessed by clicking on the Files section of the navigation menu.
Create Drives
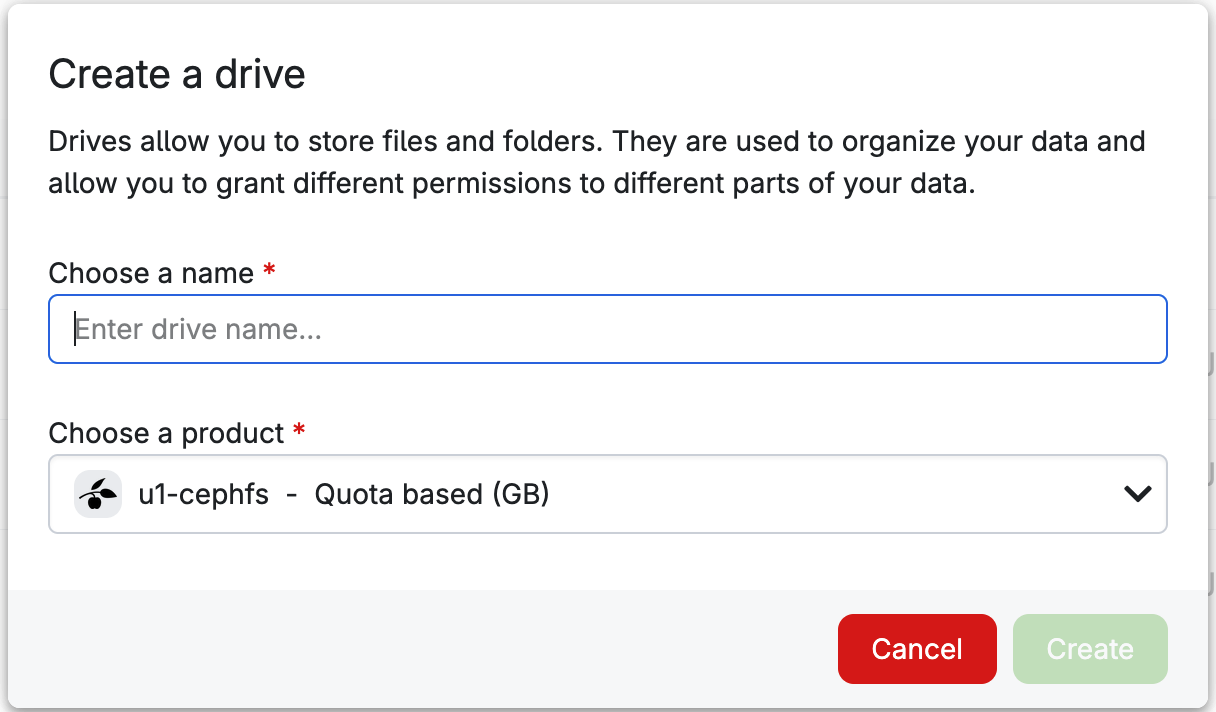
New drives can be created by clicking on the
button at the top of the drive list. This will open a dialog box where the user must choose the new drive's name and product:
Upon selecting a drive, several operations become accessible, which may include Rename, Permissions, Delete and Properties, depending on the provider.

As noted on the respective buttons, keyboard shortcuts can alternatively be used.
Files and folders can be accessed by double-clicking on the drive name. The drive page content should look something like this:
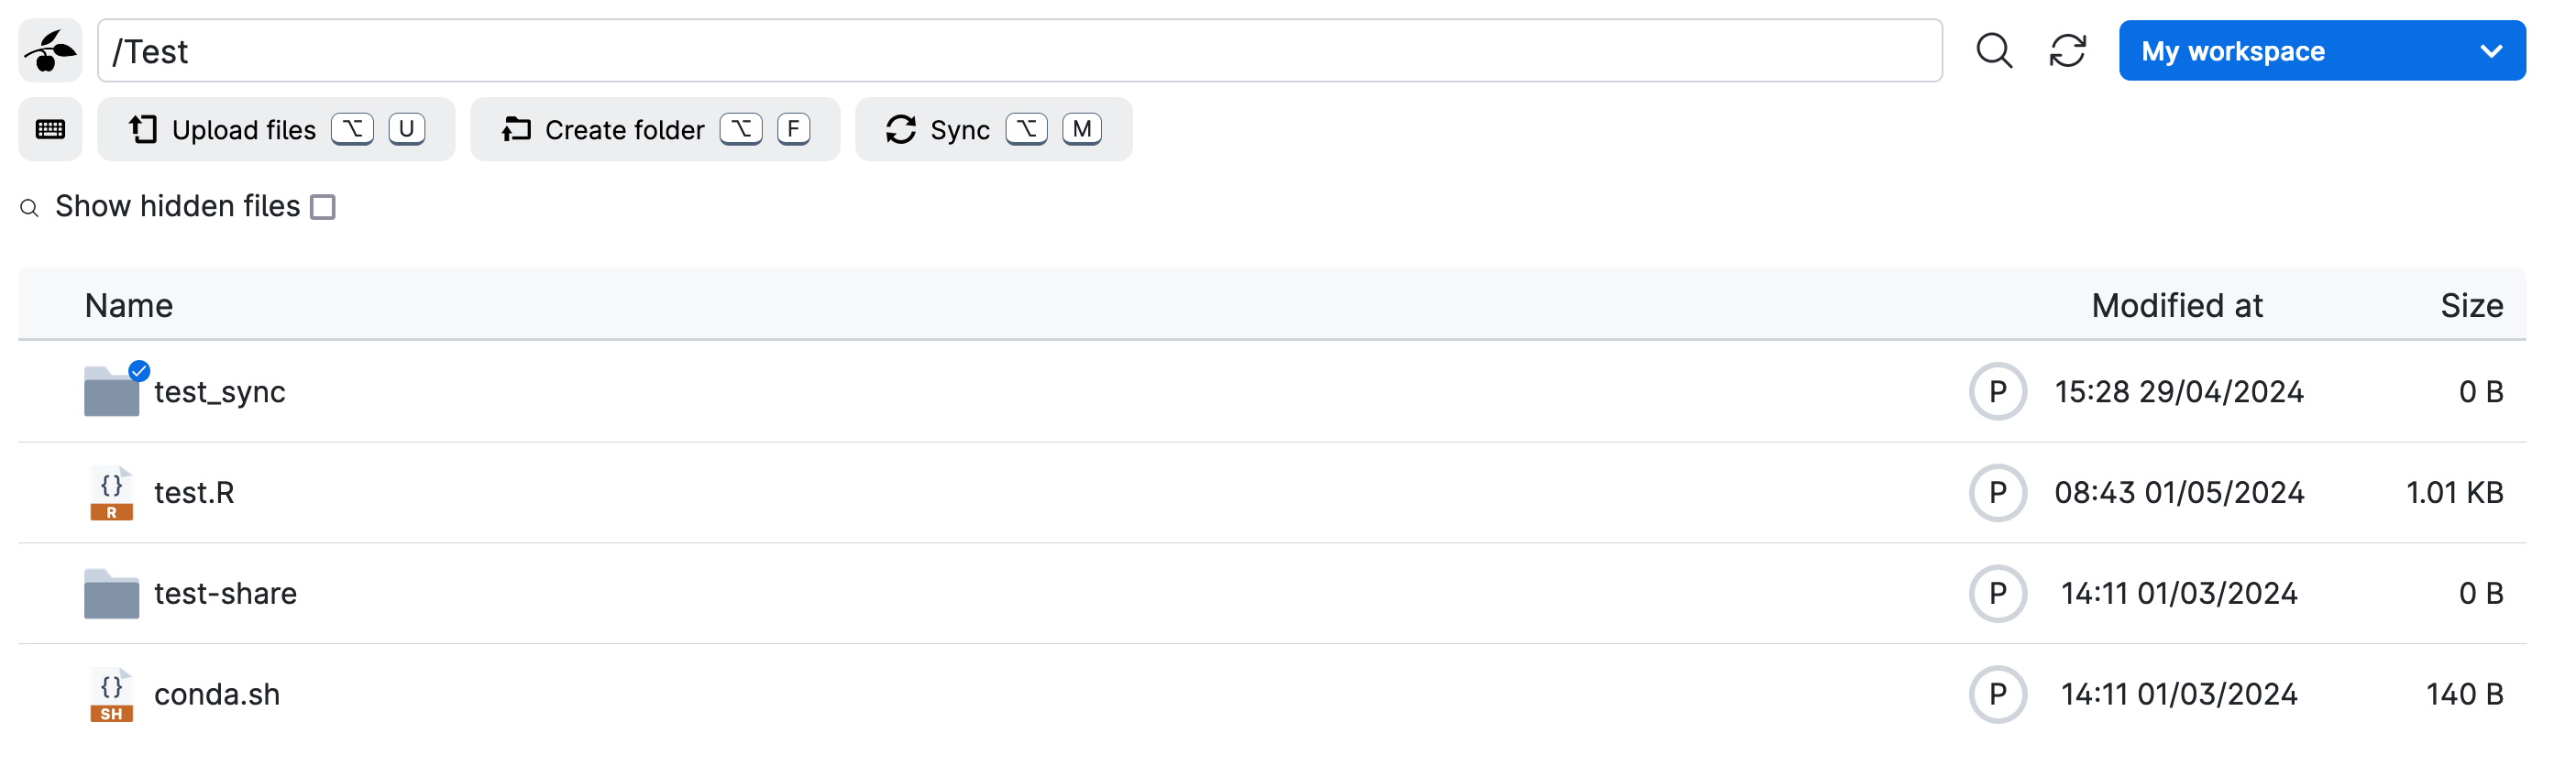
To show hidden files (i.e., dotfiles), users can click on the switch located at the top-left side of the folder list.
Note
Clicking on the provider icon, situated on the left side of the drive name, allows users to navigate back to the full drive list.
Upload Files and Folders
Once inside a drive, users have the option to create new folders or upload files/folders by clicking on the button located at the top-left side of the Files section.
In particular, by selecting the button
the user will be prompted with the dialog box:
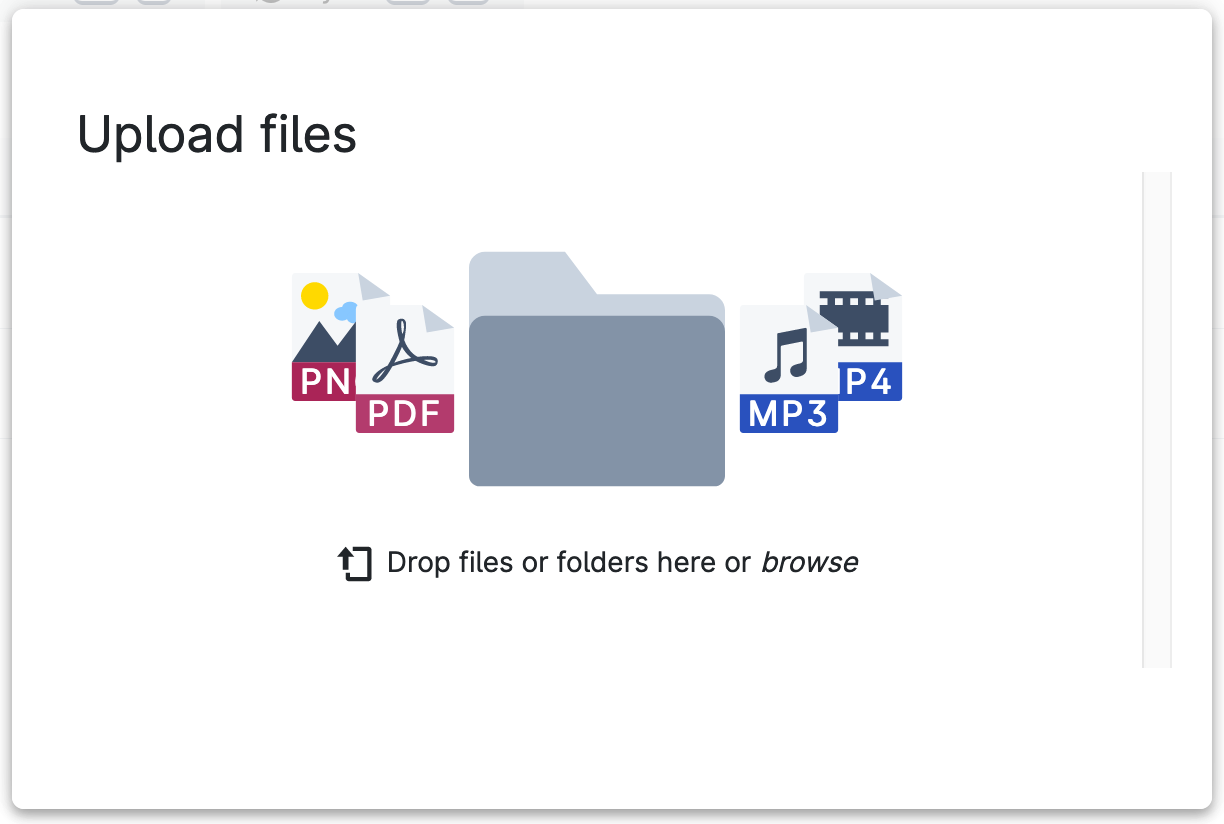
Users can either drag-and-drop files/folders or click the dialog box to search for files locally. Additionally, file uploading can be paused and resumed through the menu on the right side of the file name.
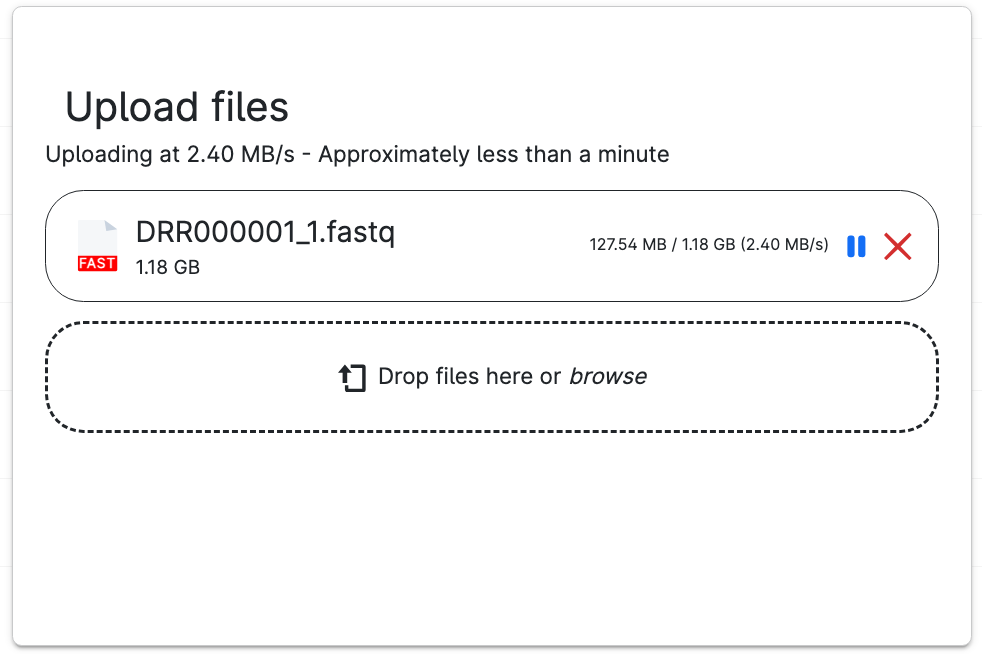
New files will be saved in the selected directory. For each file, the size is reported on the right side.
Note
In UCloud, it is only possible to upload folders using drag-and-drop.
Open an Integrated Terminal
When inside a drive, users can open an integrated Linux terminal window by clicking on
The integrated terminal window will appear at the bottom of the interface.
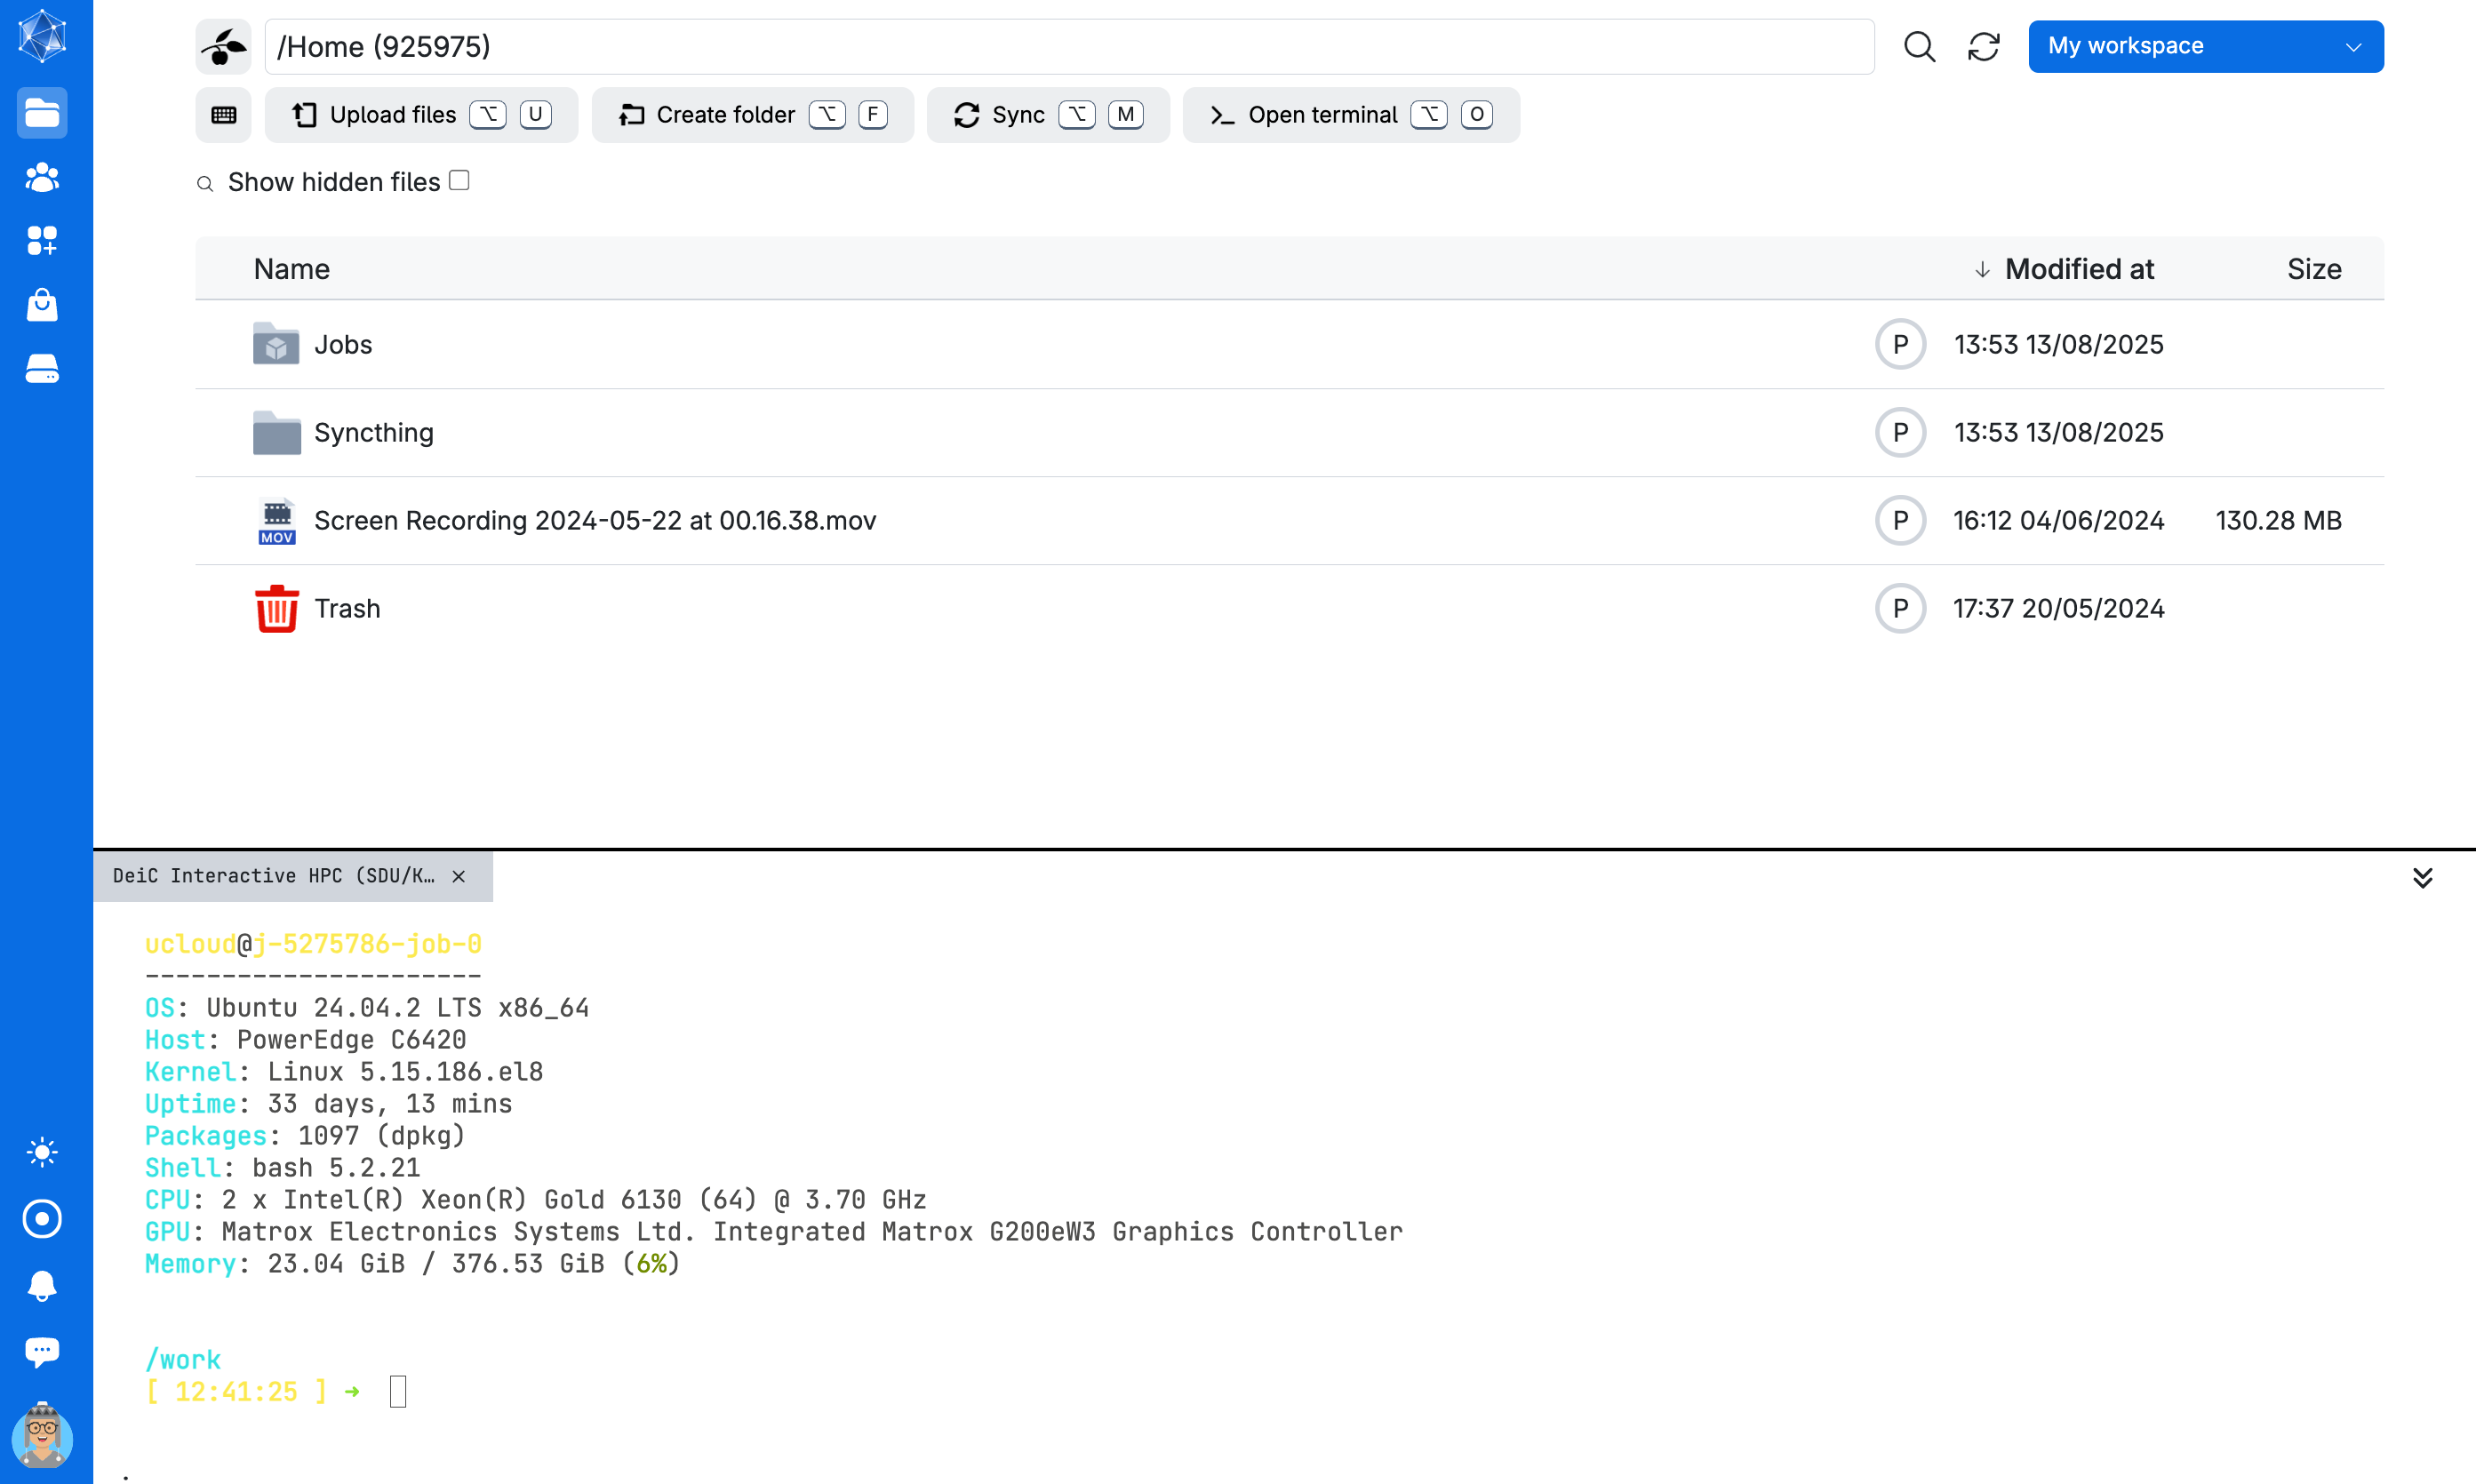
The drive in which the integrated terminal session is initiated is mounted to /work within the terminal session.
Note
The integrated terminal is designed for basic, computationally lightweight file system operations. Users requiring a fully featured terminal should start a Terminal app instance.
It is possible to run multiple terminal sessions at the same time. In this case, each terminal session has a separate tab in the integrated terminal window.
Terminal sessions launched in the integrated terminal window run as jobs in My workspace. Output files from these sessions are stored in the corresponding folder under /Home/Jobs in My workspace - even if the terminal session was launched from within another project.
The integrated terminal window remains open until it is explicitly closed, allowing navigation of the UCloud interface while the terminal is active. In particular:
The terminal can be minimized with the minimize button and expanded again with the control.
A terminal session can be terminated by clicking the close button on the corresponding tab.
Note
Integrated terminal sessions are automatically powered off after a period of inactivity.
Note
To end an integrated terminal job, right-click its name in the job list and select Stop.
Create a File
Users can create a file directly from the UCloud interface. When inside a drive, click on Create file:
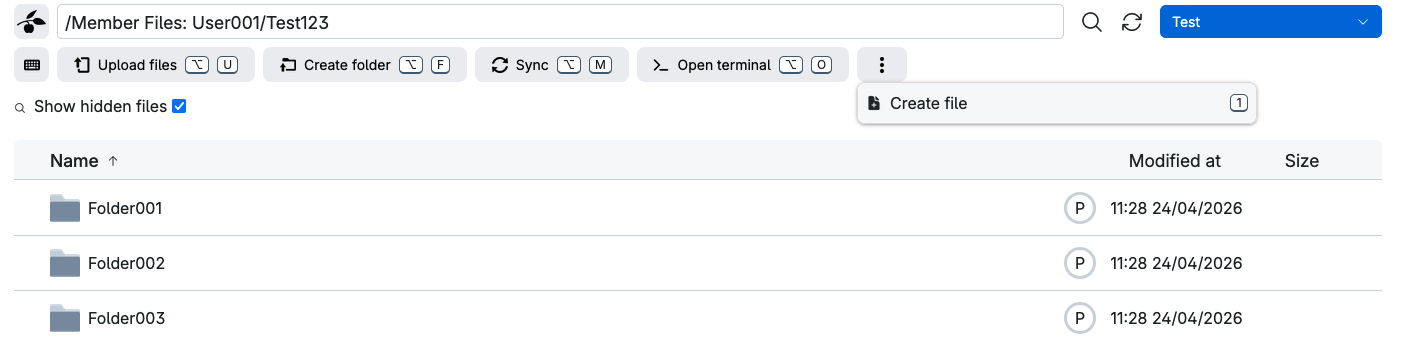
This will create an empty file with the chosen name (the name should include the file extension - .txt, .sh, .py etc.). After that the file can be edited using the file previewer.
Add to Favorites
From this page, users can also tag a file or folder as favorite by hovering over it and clicking the symbol next to its name.
Favorite items are marked with the symbol and are also listed as Starred files in the Files section of the navigation menu.
Contents