Remote Synchronization
Data can be synchronized quickly and securely between UCloud and external devices, either directly through the UCloud user interface or by using dedicated tools found in the Apps section.
As a supplement to this documentation, the tutorial videos demonstrate how to set up remote synchronization and how to choose between one- and two-way synchronization at the folder-level.
Synchronization via Syncthing
UCloud makes use of Syncthing in the backend to synchronize drives and folders with other computer devices.
Note
This functionality is only available for the DeiC Interactive HPC (SDU/K8s) provider.
Configure the server
To initially configure the UCloud Syncthing server, the user needs to enter a drive and click on the
button at the top of the page. Users can then perform the following steps:
Install a third-party Syncthing client on the device.
Add the device identification to the server.
Select the folder(s) to synchronize.
A folder named Syncthing is automatically available in the Home drive. This folder contains Syncthing configuration files.
Synchronize folders
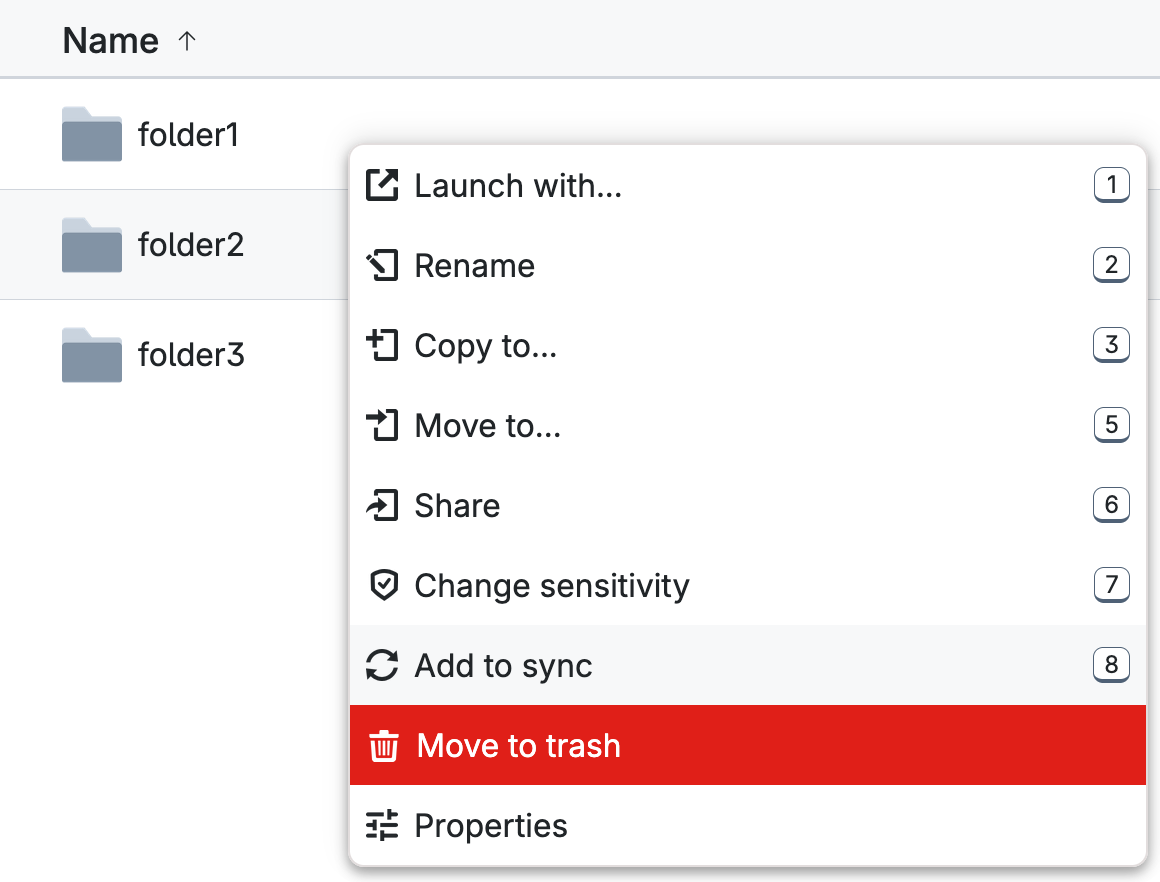
Once the Syncthing server is up and running, whether in My workspace or from a different project, additional folders can be added at any time by right-clicking the folder name and selecting the Add to sync option.

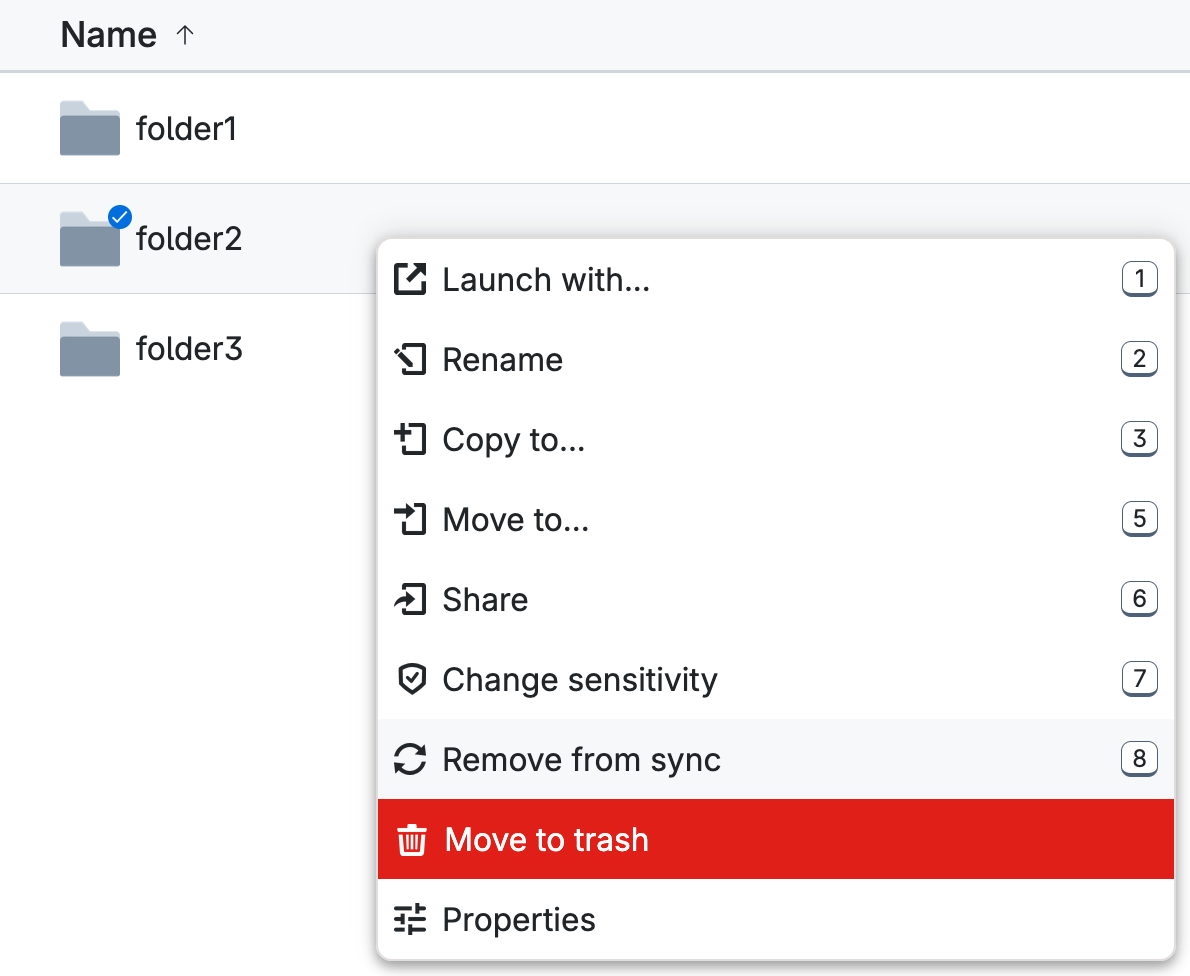
Likewise, previously added folders can be removed from synchronization by selecting the Remove from sync option.

The entire content of a drive can be added for synchronization by entering the drive, selecting all folders within it, and clicking on Add to sync.
Note
When a folder is added to UCloud for synchronization or removed from sync, the synchronization process may take a few minutes to start and complete.
Manage synchronization
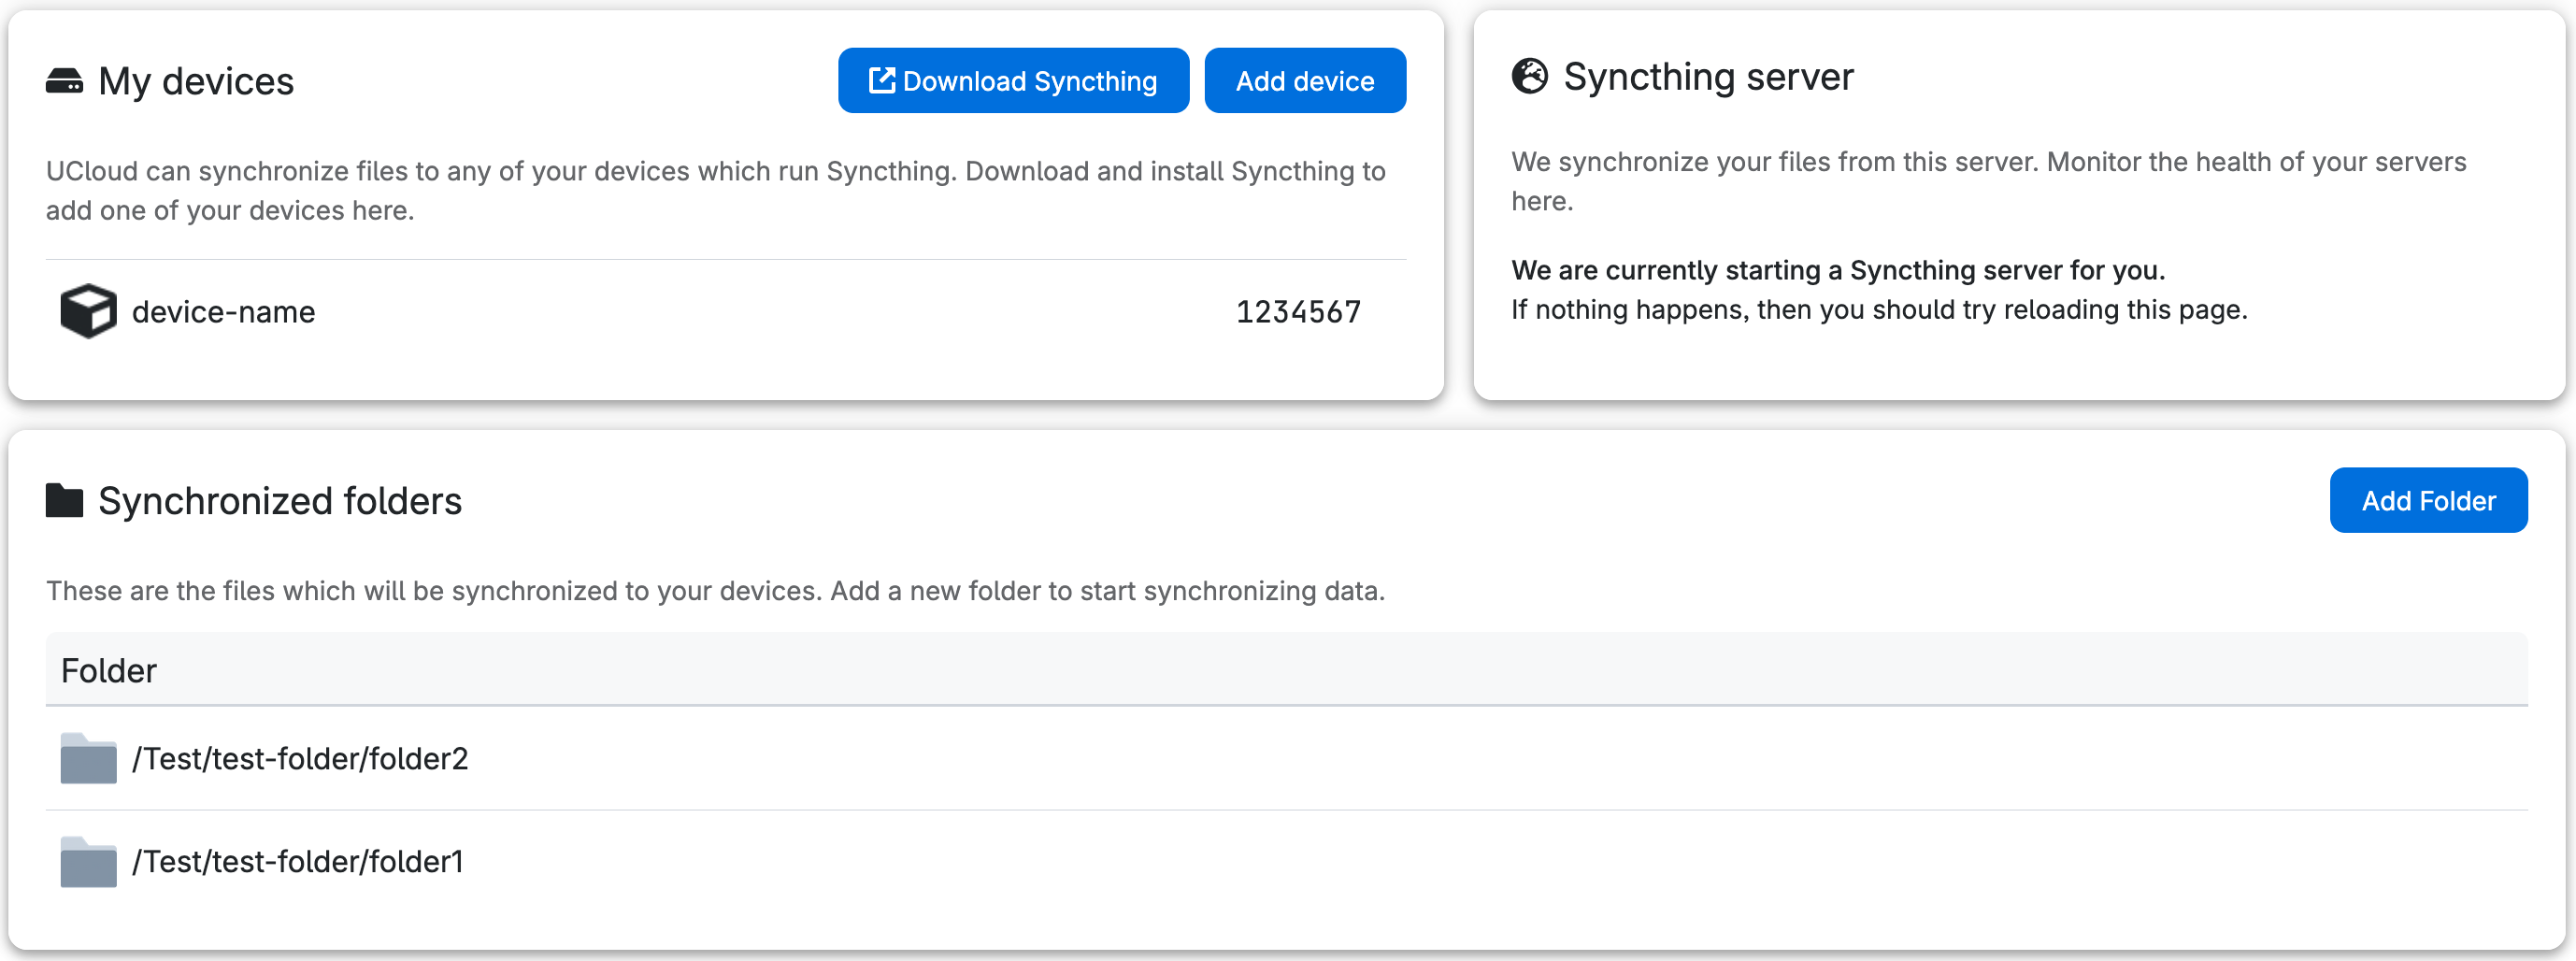
An overview of devices, servers, and folders involved in the synchronization process can be accessed by entering a drive and clicking the
button which opens the Manage synchronization page, as shown in the figure below.

The same page can be accessed at this URL.
New devices and folders can be added by clicking on the buttons
and
respectively. Clicking on allows removal of that device or folder from synchronization.
The Syncthing Status panel displays information about the running Syncthing server, including its current status, job ID, and device ID. This panel also provides options to restart the server or perform a factory reset, which permanently clears the server configuration (removing all devices and folders).
Stop Syncthing
The Syncthing server can be stopped by killing the corresponding job in My workspace. The job is accessible from the Runs section, of the navigation menu. The service will automatically restart after accessing the server management page.
Additional Synchronization Tools
UCloud offers additional tools for synchronizing files and folders to and from a remote server. Two applications available for this purpose are:
Important
These tools are recommended when users need to transfer a large number of files simultaneously.
Contents