AI Platform
UCloud AI offers an AI platform which natively supports a number of large language models (LLMs).
Accessing the Platform
Clicking on the icon in the navigation menu will open the AI platform's landing page:
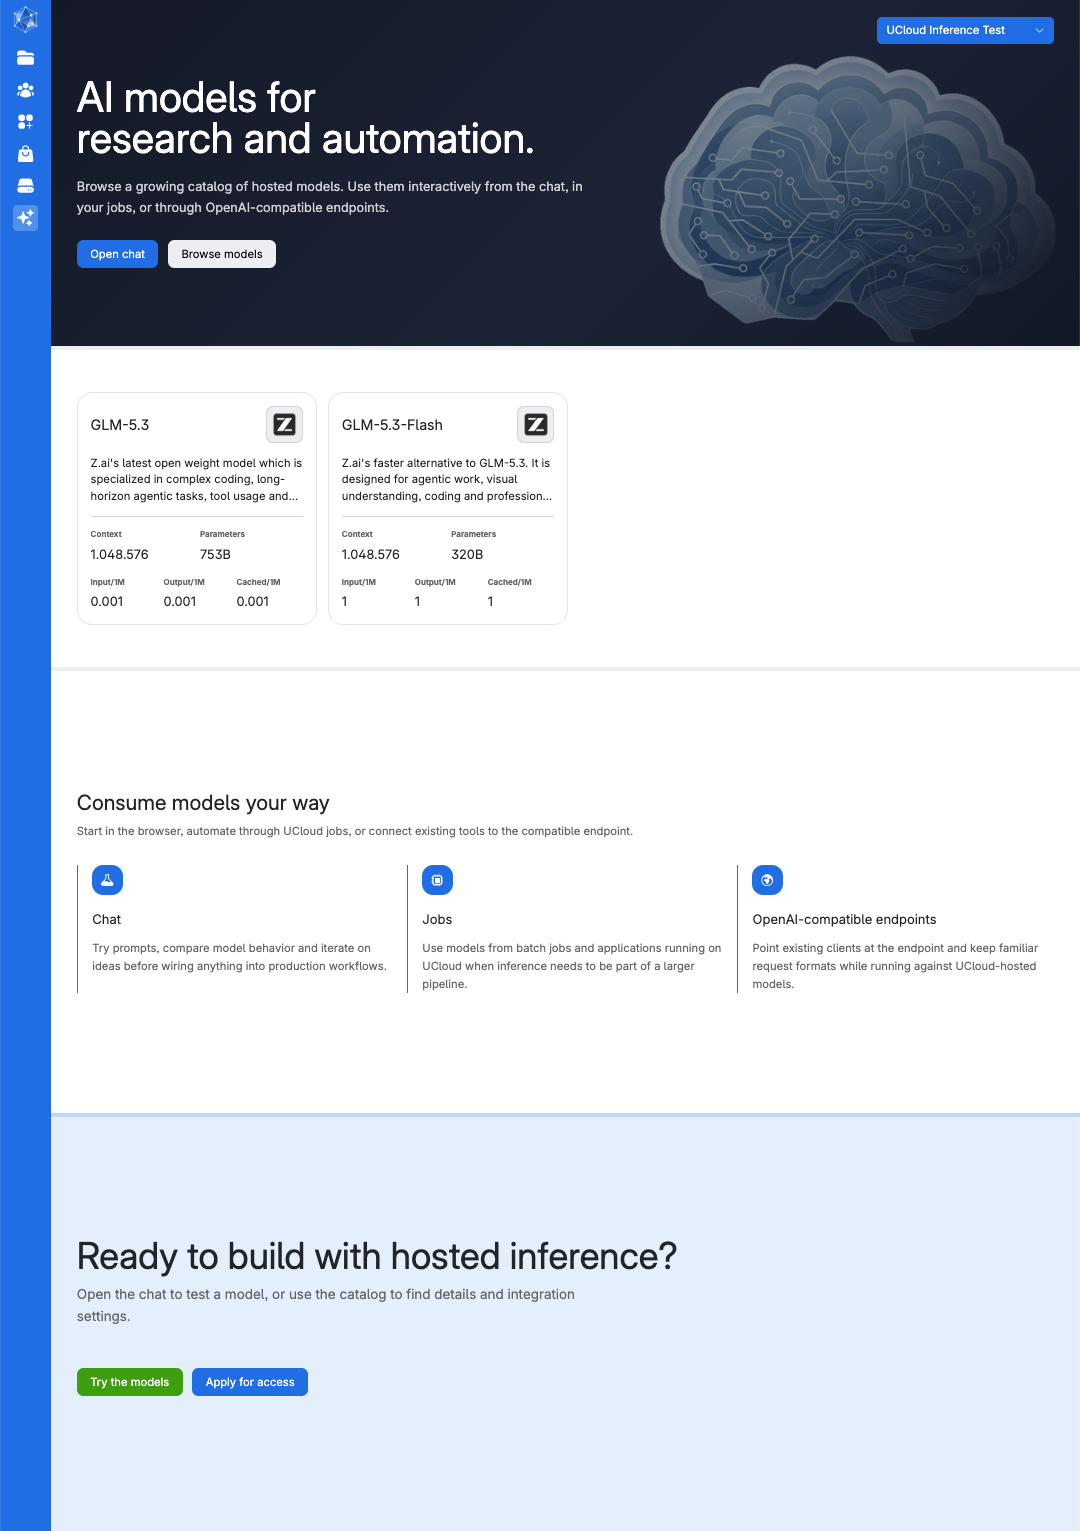
From here, the user can browse the available models by clicking the
button, open a chat session etc.
The landing page displays a dedicated card for each supported model.
Supported Models
The platform currently supports the following open-weight LLMs:
Model |
Parameters |
Context length |
|---|---|---|
753B |
1.048.576 |
|
320B |
1.048.576 |
Detailed model information can be found by clicking on the corresponding model card on the platform's landing page. For example, for GLM-5.3:
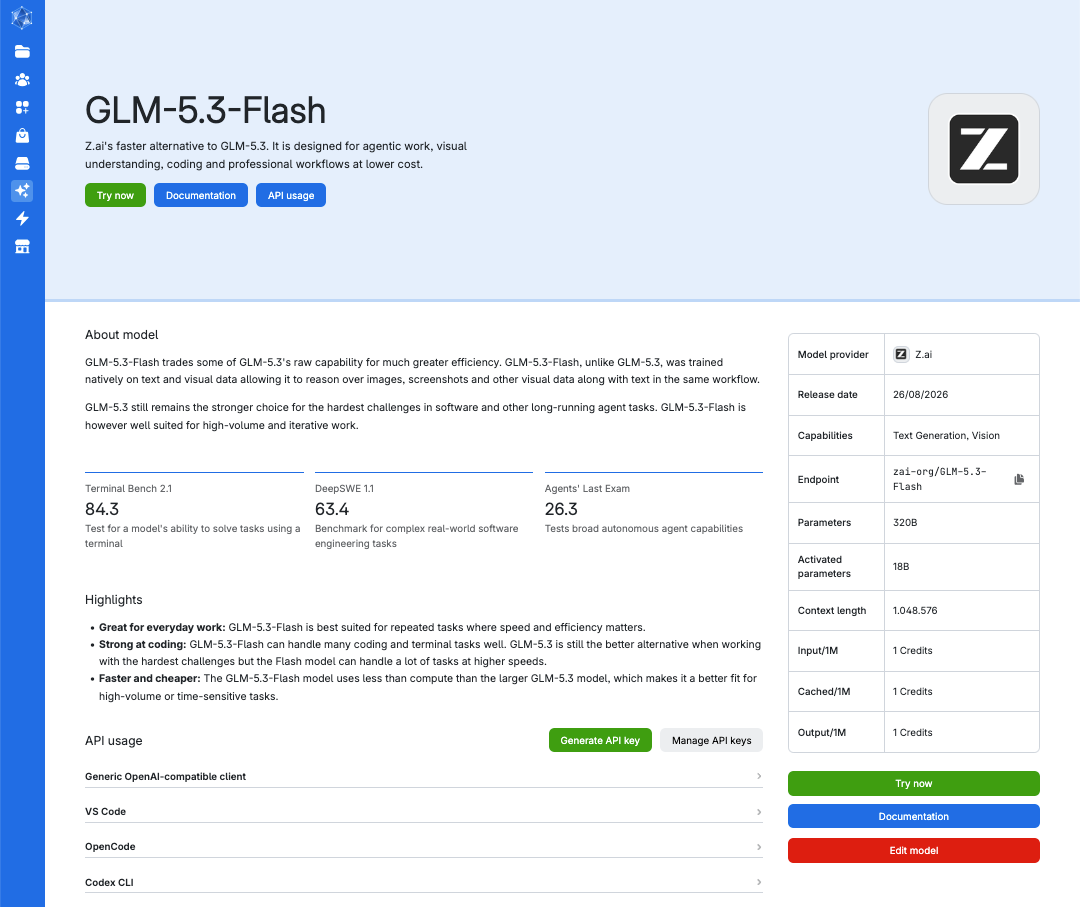
The page includes key model metadata, such as its training data, total and activated parameters, and context window size. Furthermore, it highlights the model's primary strengths, for example coding and reasoning.
In the right-side table, the prices per million input, as well as the cached and output tokens are shown. See more in the products section.
The user can try the model by clicking the
button which will open a chat session.
Towards the bottom of the page, users can find information about API usage which is relevant e.g., when one wants to use the model as an endpoint for existing clients.
Model Integration
The models that are available via UCloud AI can be consumed in different ways depending on the use case:
Chat
From the landing page, users can click on
to open a chat session.
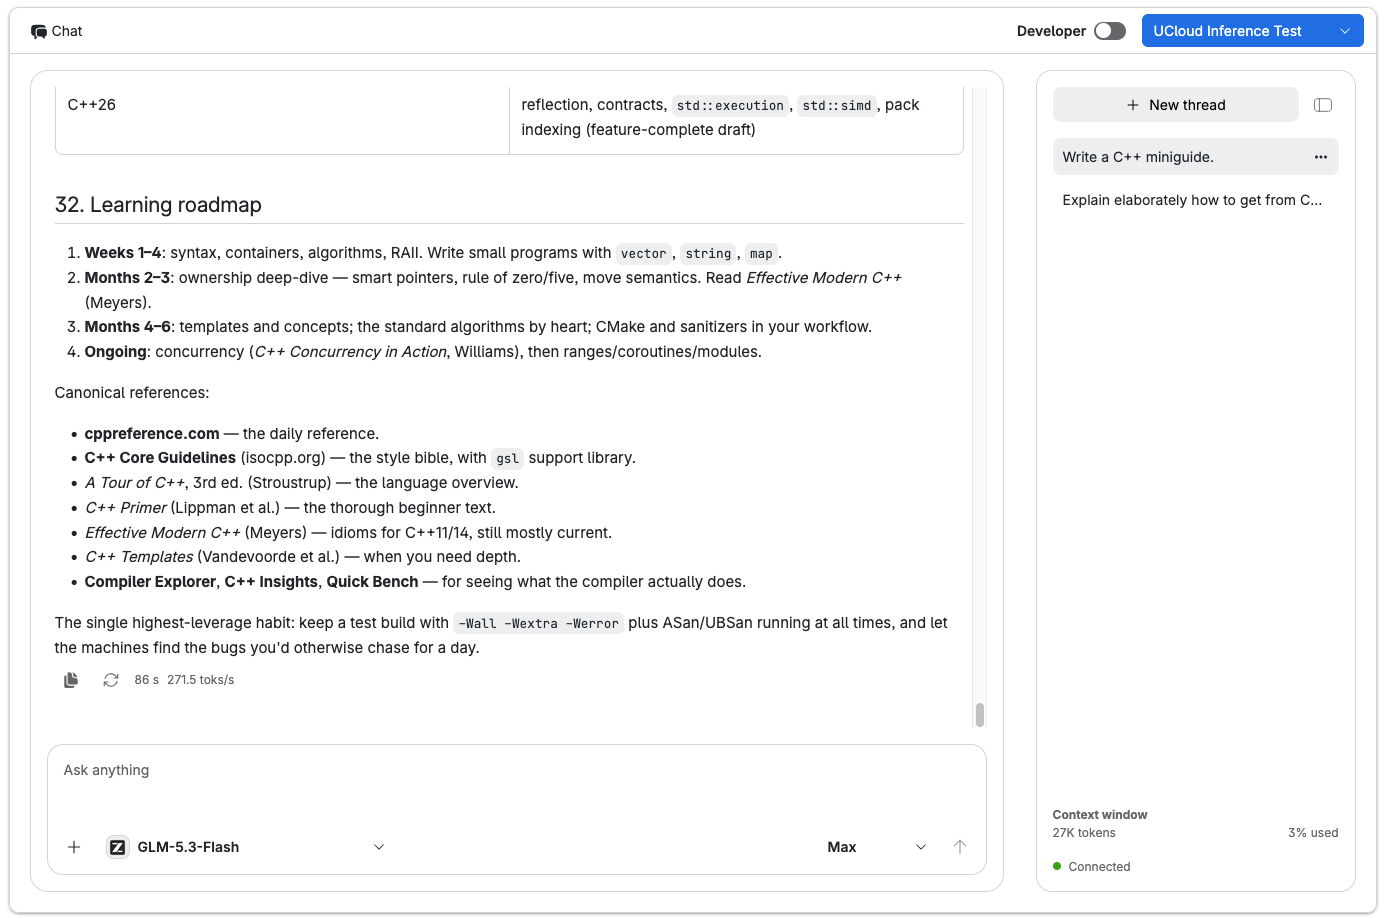
The chat window has two main components, a chat panel (left) and a sidebar (right).
In the chat panel
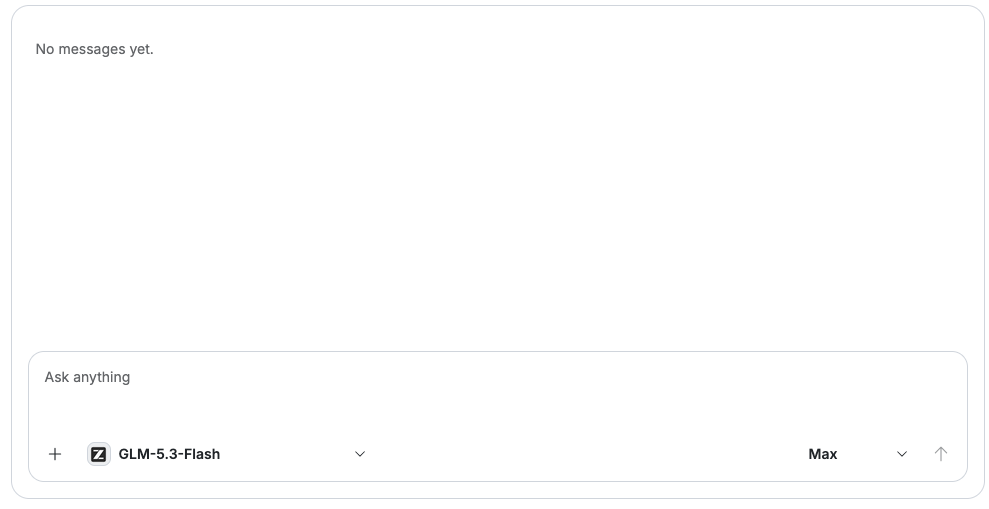
users can enter their prompts to the model in the text field.
Below the text field, files can be added to the chat by clicking the + icon below. The chat supports images, audio, video, text documents, PDFs, EPUBs, and Microsoft Office files.
Furthermore, the user can choose between the available models by clicking on the model name, and choose the model's effort in generating the reply (low, high, max).
In the sidebar
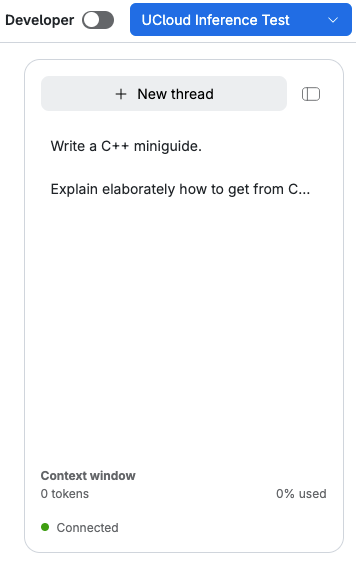
an orange circle  at the bottom indicates that the connection to the backend is being established. A green circle
  will be shown to indicate that the model is ready to receive prompts.
Just above, users can see the current thread's total token use and how much of the model's overall context window it uses.
In addition, the sidebar shows the user's chat history, which is saved in /Home/Inference/Chats in My workspace.
A new thread can be created by clicking the
button.
Threads in the chat history can be renamed or deleted by clicking the button next to the given thread name.
Important
Deletion of a chat thread is permanent and irreversible.
The sidebar can be collapsed by clicking the button.
All models come with reasonable default inference parameter values. These can be adjusted by enabling Developer mode using the Developer toggle located above the sidebar:
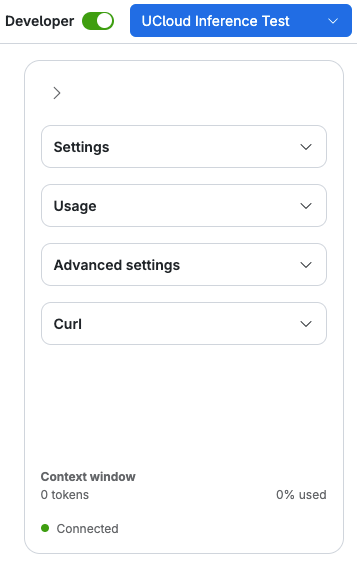
From Settings, basic settings such as the model temperature, max completion tokens etc., as well as the default system prompt, can be changed.
From Usage, the user can see a detailed overview of the token usage in the given thread.
From Advanced settings, some more advanced inference parameters, such as presence penalty, frequency penalty etc., can be set and/or changed.
From Curl,, a
curlcommand can be found complete with inference parameter values and system prompts as set in the Developer panel.
UCloud app integration
Access to the models offered via UCloud AI is optionally offered from a number of apps on UCloud. This gives users the option to consume the models directly from inside UCloud jobs.
The level of integration differs from app to app, and more information can be found on the documentation page of the given app.
API endpoint
The AI platform can be used as an endpoint to existing clients.
Note
Only a limited set of APIs are supported. Using the chat completions API is recommended when possible.
To use UCloud AI as an endpoint for an existing client, an API key is required.
The user can generate an API key by clicking on the desired model's model card. From there, click the
button.
The server and API key will then be displayed on the screen:

Important
The user must make sure to copy and save the server and API key because they will disappear when leaving the page.
Clicking the
button will redirect the user to the API tokens page. The user can also create an API token from there.
At the bottom of the page, there are different examples on how to connect clients such as VS Code, OpenCode, and Codex to the endpoint.
Contents